User Manual - Administrator Role
Overview
Administrators have full access to all features of the Practice Management System. This manual covers all modules and features available to administrators.
Table of Contents
- Getting Started
- Dashboard
- Client Management
- Client Forms
- Appointment Management
- Practitioner Management
- Service Management
- Contact Notes
- Visit Notes
- Health Plans
- Policies
- Reports
- Subscription Management
- Settings
- Onboarding
Getting Started
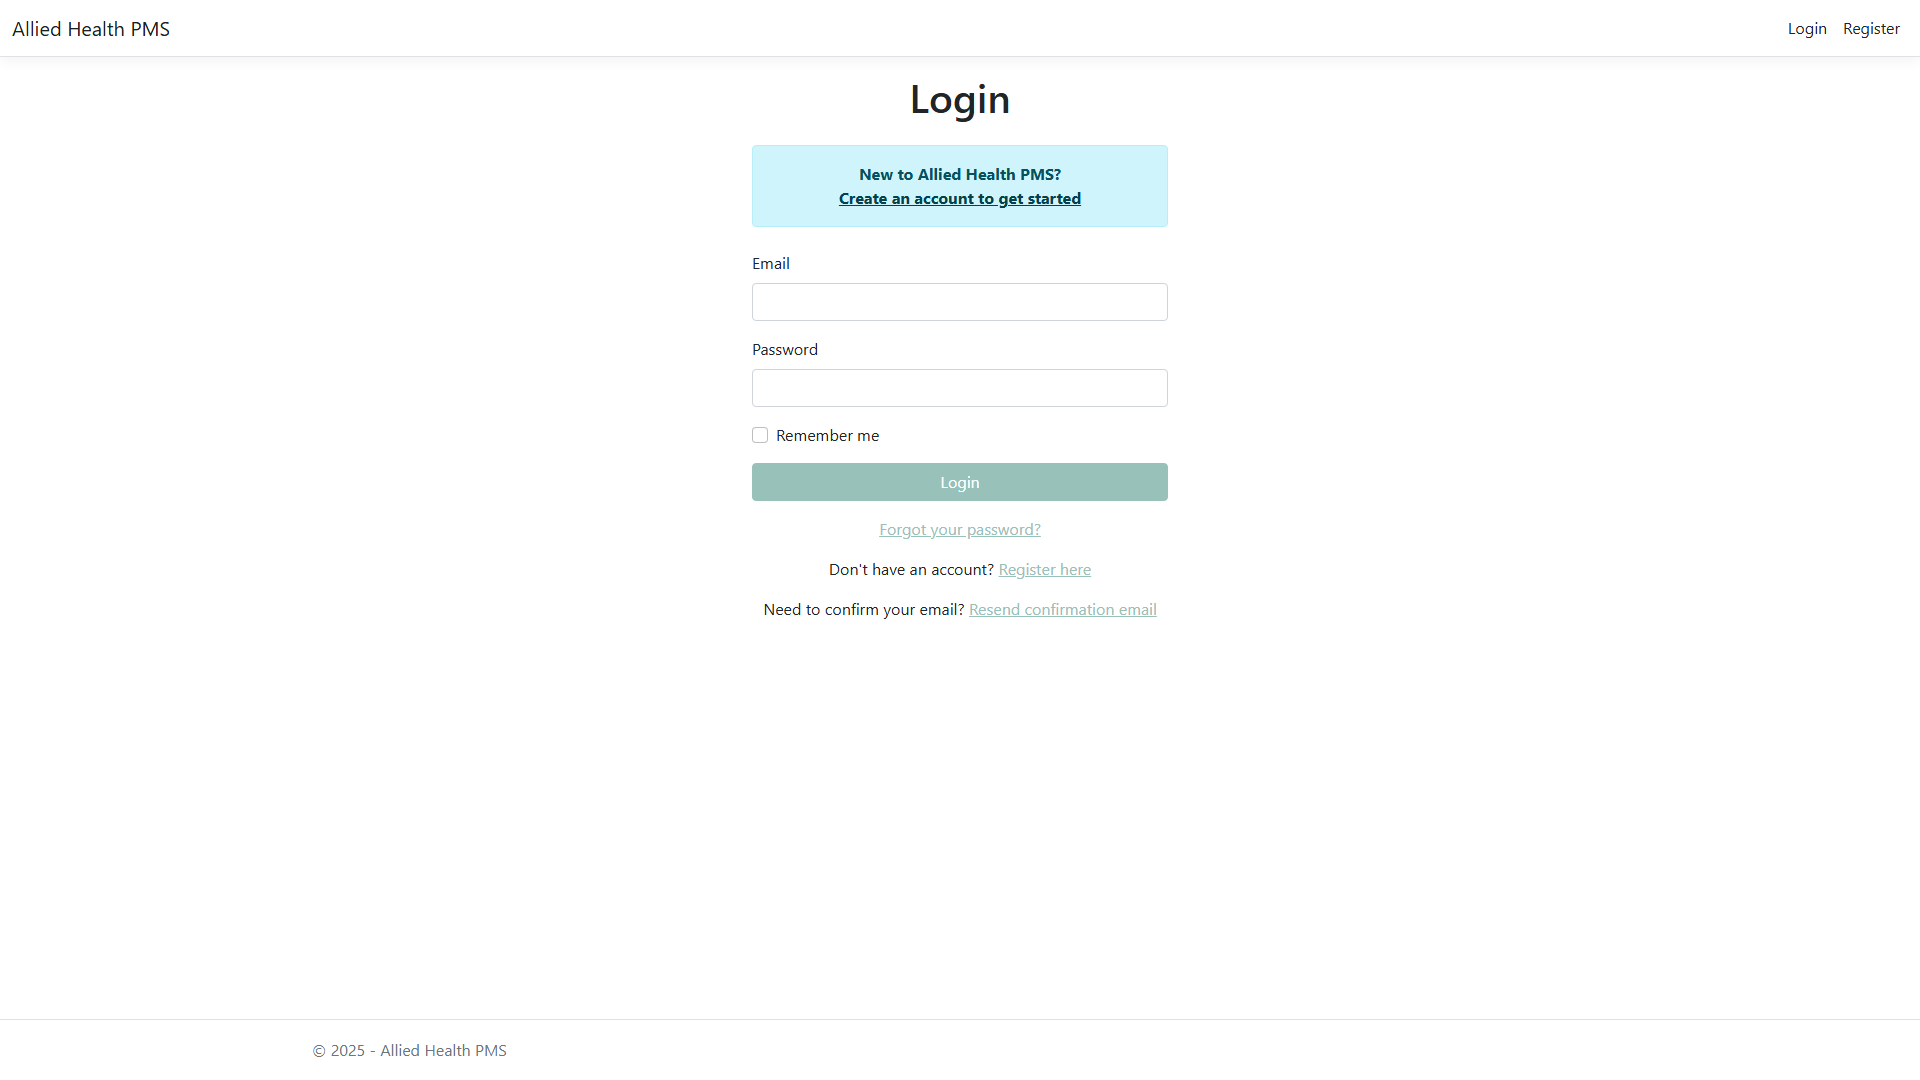
Login
- Navigate to the login page
- Enter your email address and password
- Click "Login"

After successful login, you'll be redirected to the Dashboard.
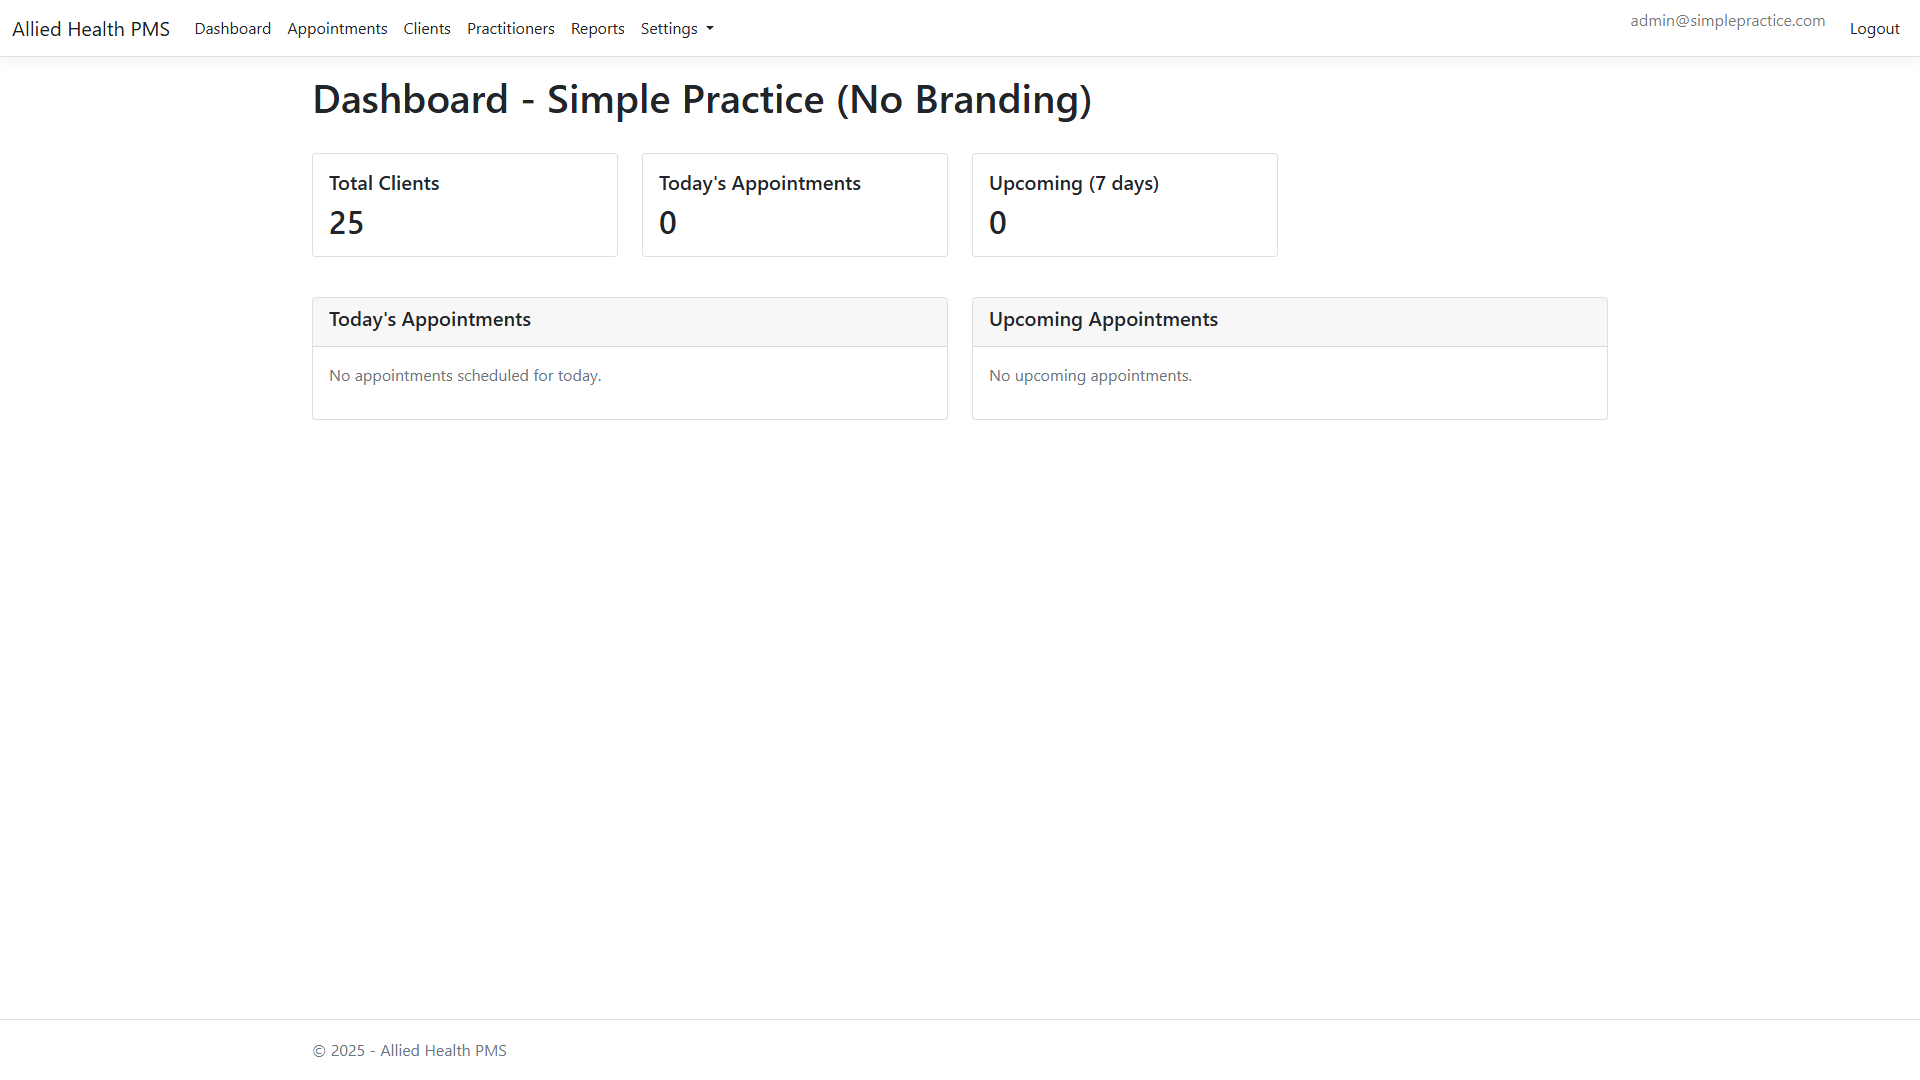
Dashboard
The dashboard provides an overview of your practice with key statistics and upcoming appointments.

Key Features:
- Total Clients count
- Today's Appointments
- Upcoming Appointments (next 7 days)
- Subscription Status
Navigation Menu
The navigation menu provides quick access to all modules:
Available menu items:
- Dashboard
- Clients
- Appointments
- Practitioners
- Services
- More (Health Plan Templates, Settings)
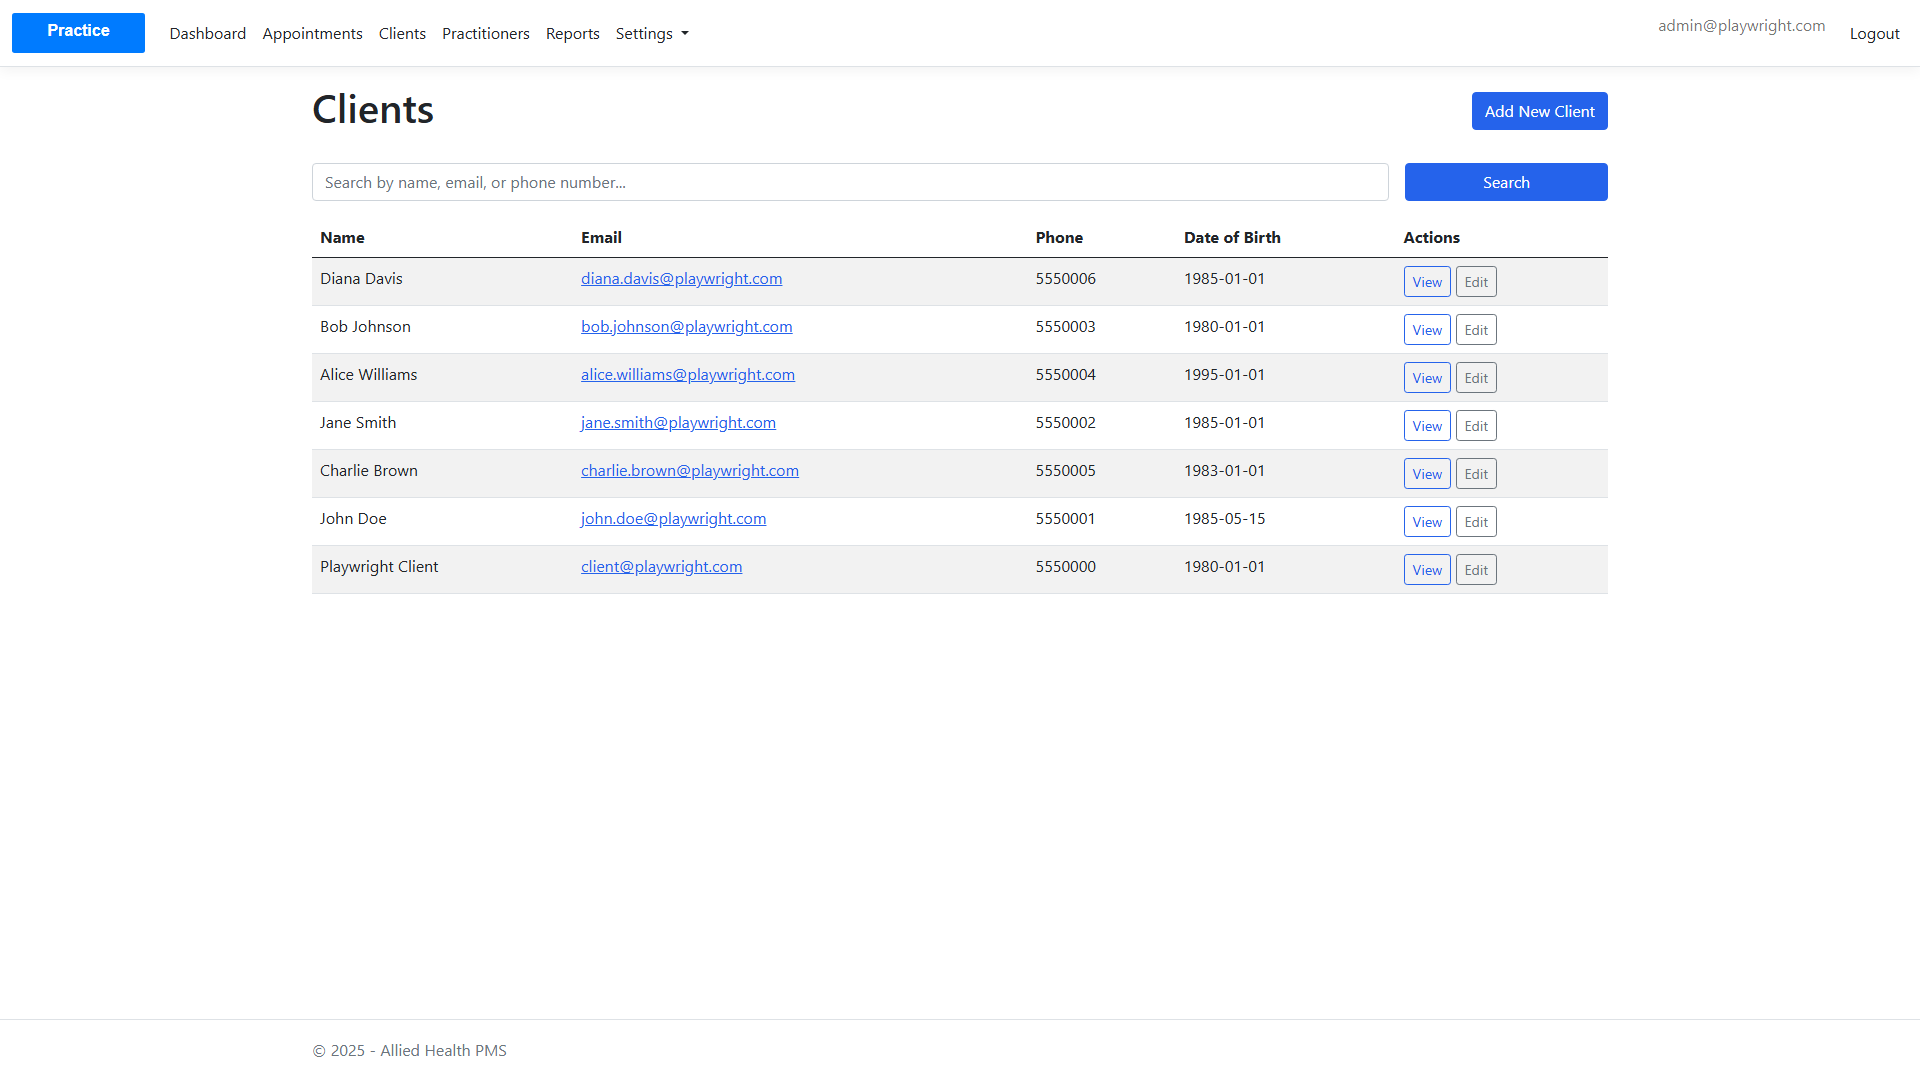
Client Management
Viewing Clients
Navigate to Clients from the main menu to view all clients.
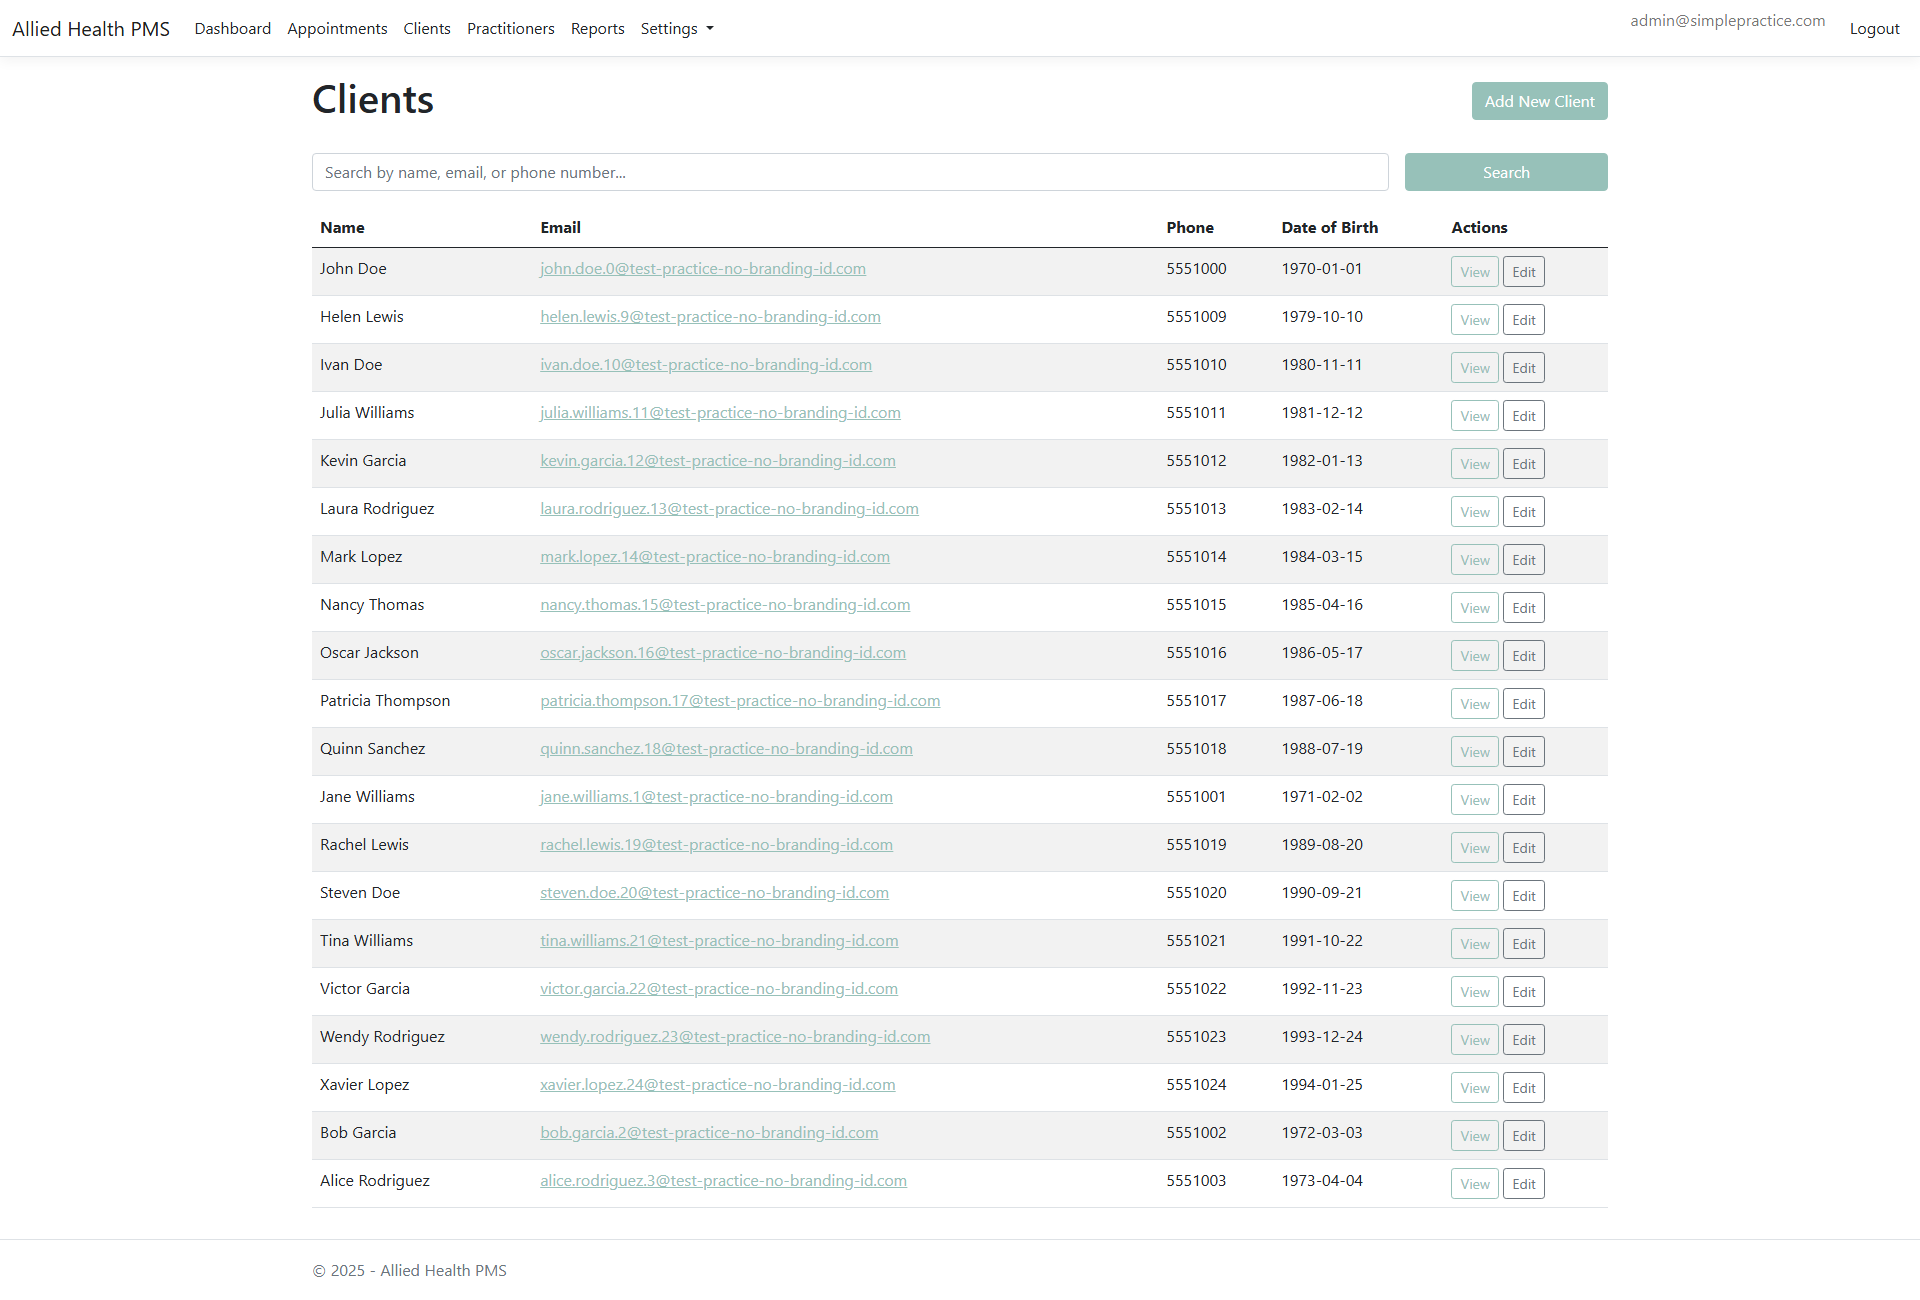
Features:
- View all clients in a table format
- Search clients by name, email, or phone number
- Quick access to client details
Searching for Clients
The client list includes a powerful search feature to quickly find specific clients:
- Enter a search term in the search box (searches name, email, and phone)
- Click "Search" or press Enter
- The list will filter to show only matching clients
- Click "Clear search" to return to the full list
Search Examples:
- Search by first or last name: "John", "Smith"
- Search by email: "john@example.com" or partial "john@"
- Search by phone: "555-1234" or partial "555"
- Search is case-insensitive and matches partial text
Performance Note: The search uses an efficient DynamoDB index and can handle tens of thousands of clients without performance issues.
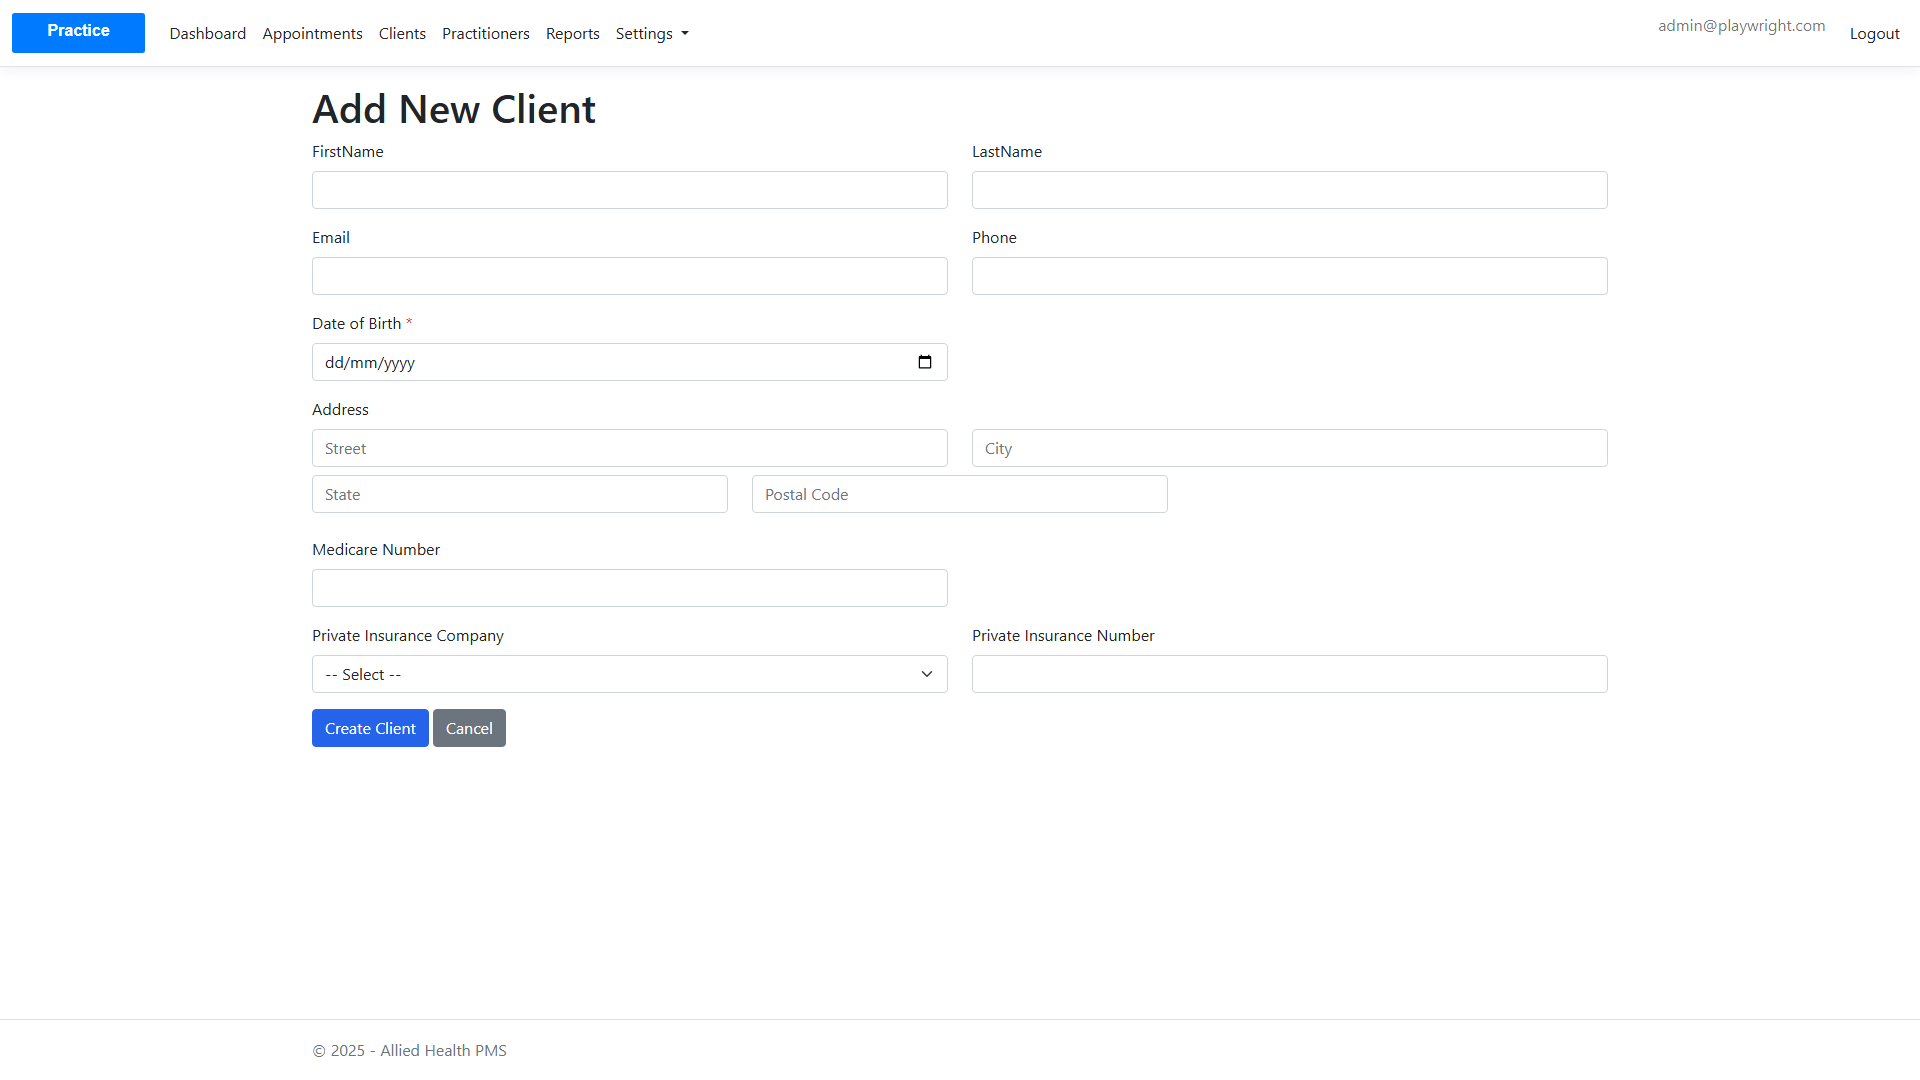
Creating a New Client
- Click "Add New Client" button
- Fill in the client information:
- First Name
- Last Name
- Phone
- Additional Notes
- Click "Create Client"
Client Details
Click on a client to view their details page.

Quick Actions Available:
- View Contact Notes
- View Health Plans
- Edit Client Information
This page also shows any submitted client forms and linked appointments.
Contact Notes
Contact notes allow you to document general interactions with clients.
Viewing Contact Notes
From a client's details page, click "View Contact Notes" to see all notes for that client.

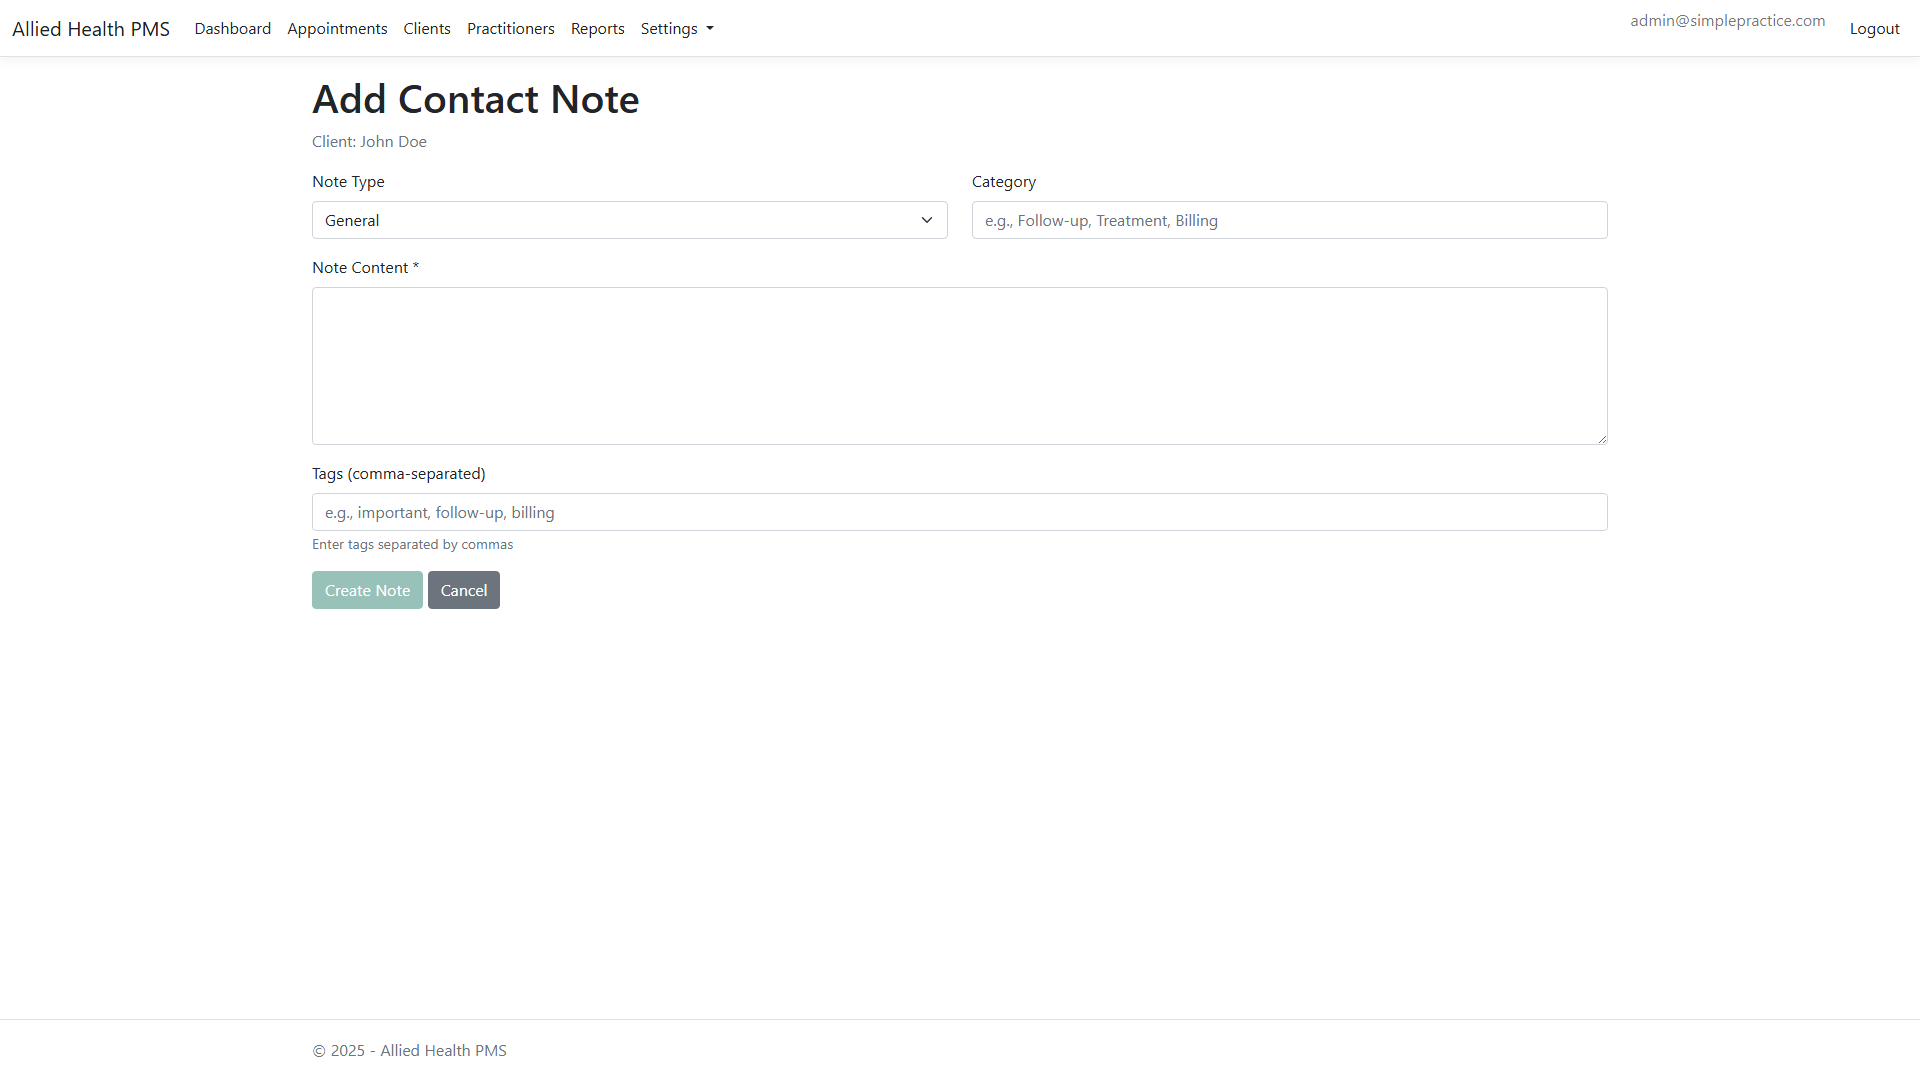
Creating a Contact Note
- Click "Add Note" button
- Fill in the note form:
- Note Type (General, Phone Call, Email, Meeting, Other)
- Category (optional)
- Note Content
- Tags (comma-separated)
- Click "Create Note"
Client Forms
Client forms capture structured intake data and can be linked to services.
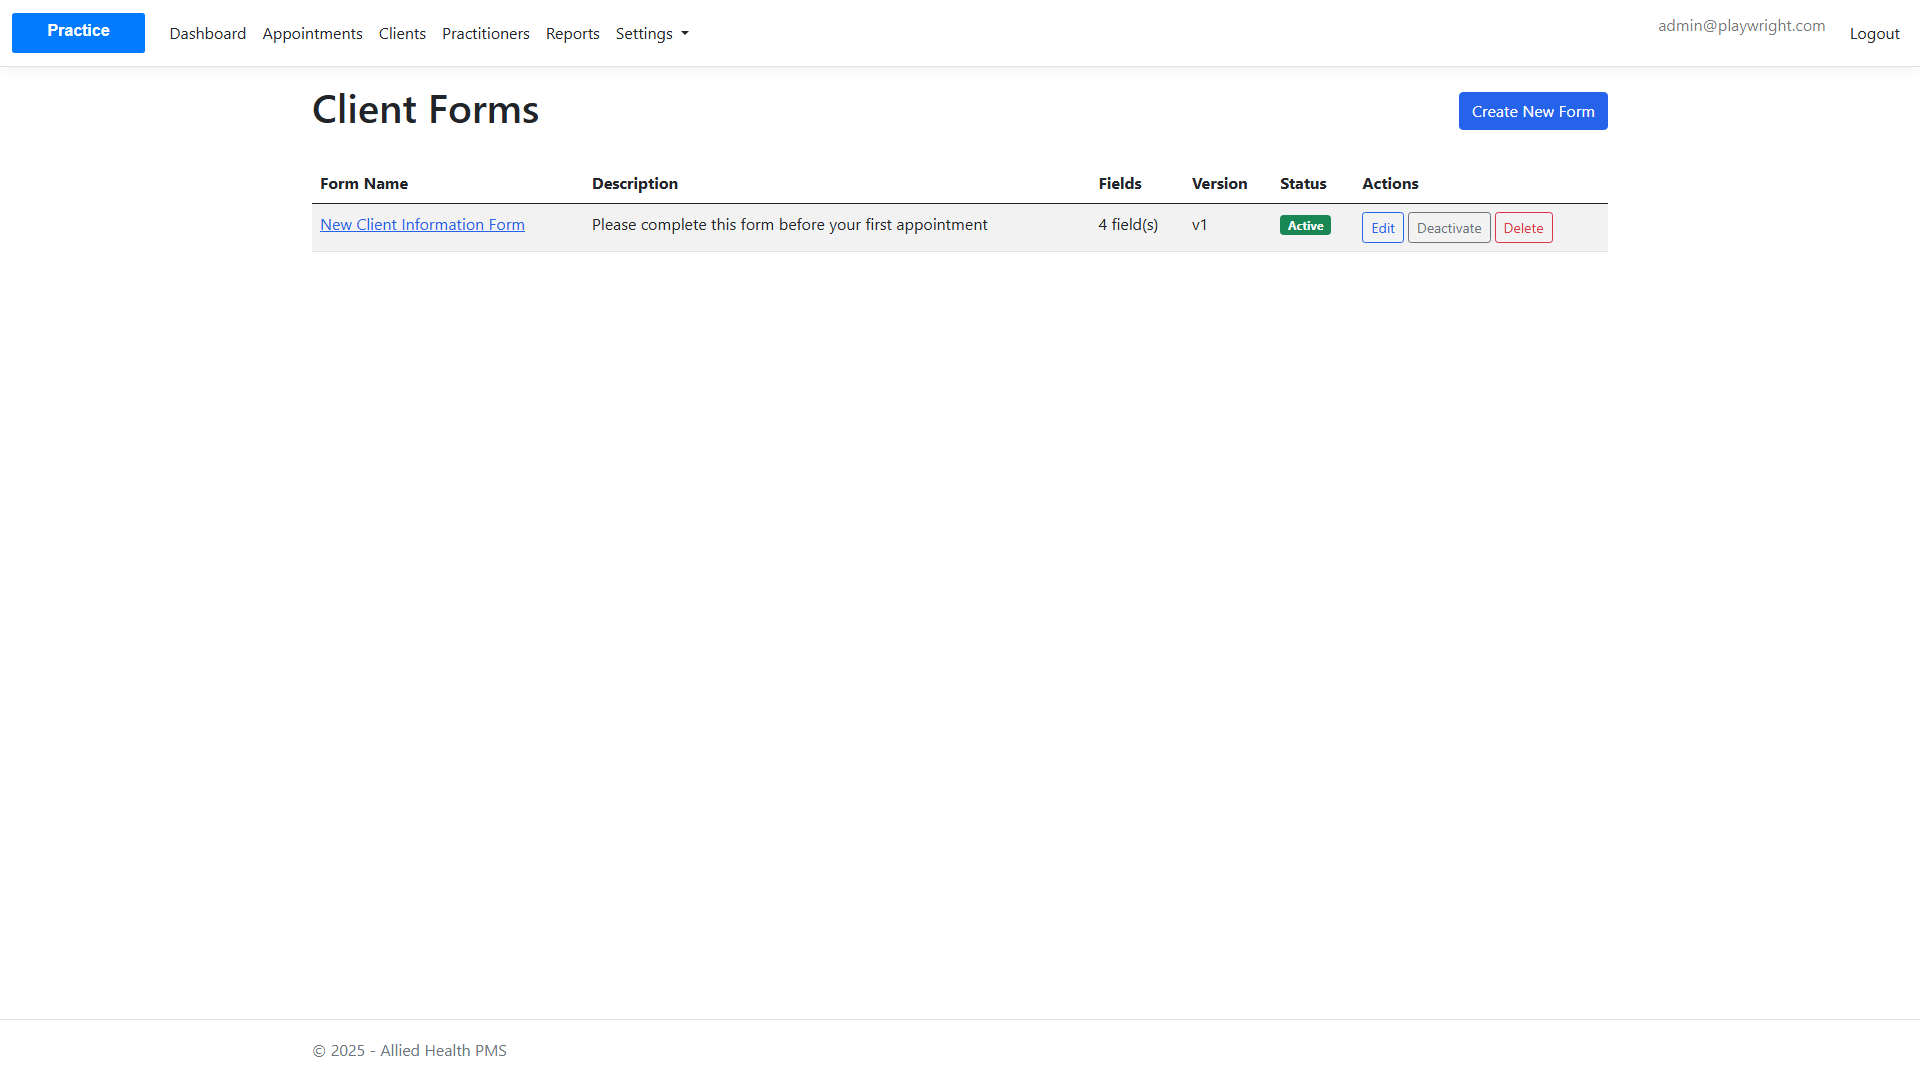
Viewing Client Forms
Navigate to Client Forms to see all available forms.
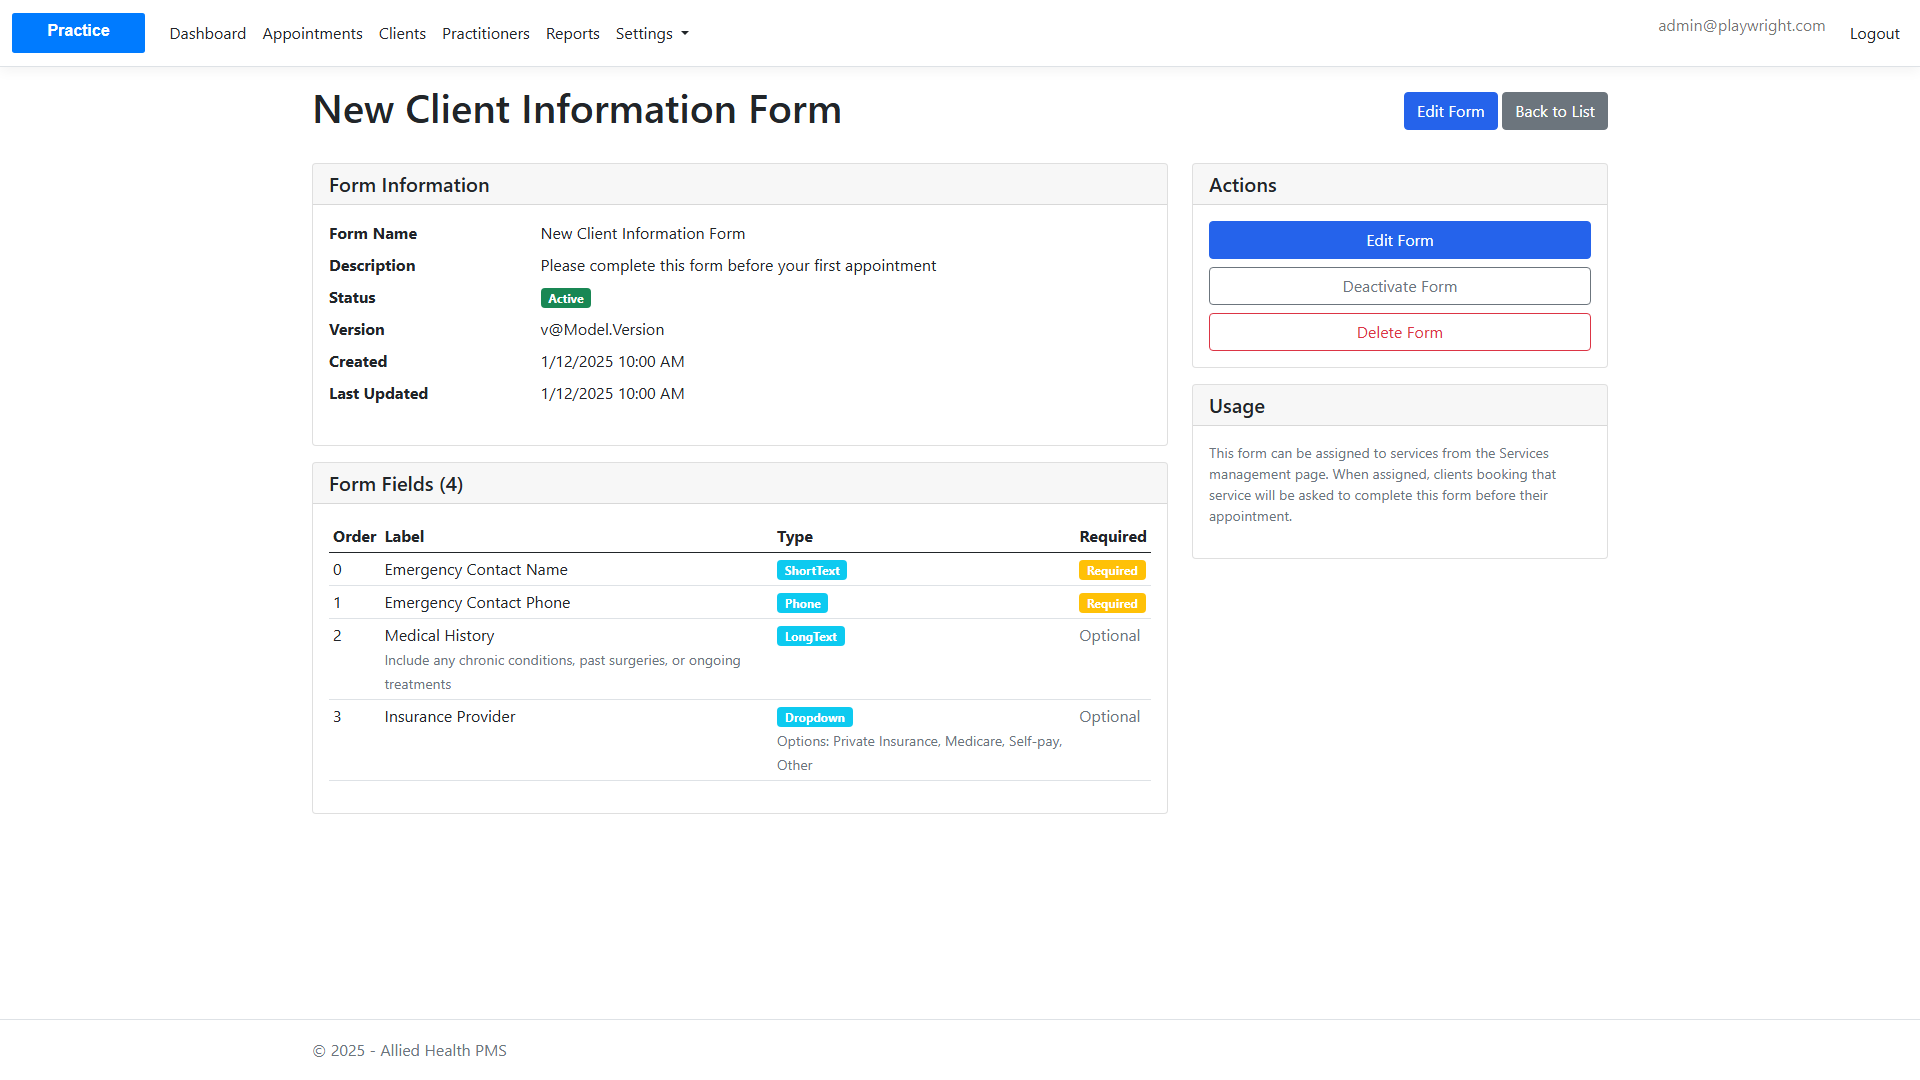
Viewing Form Details
Click a form to review its fields and version.
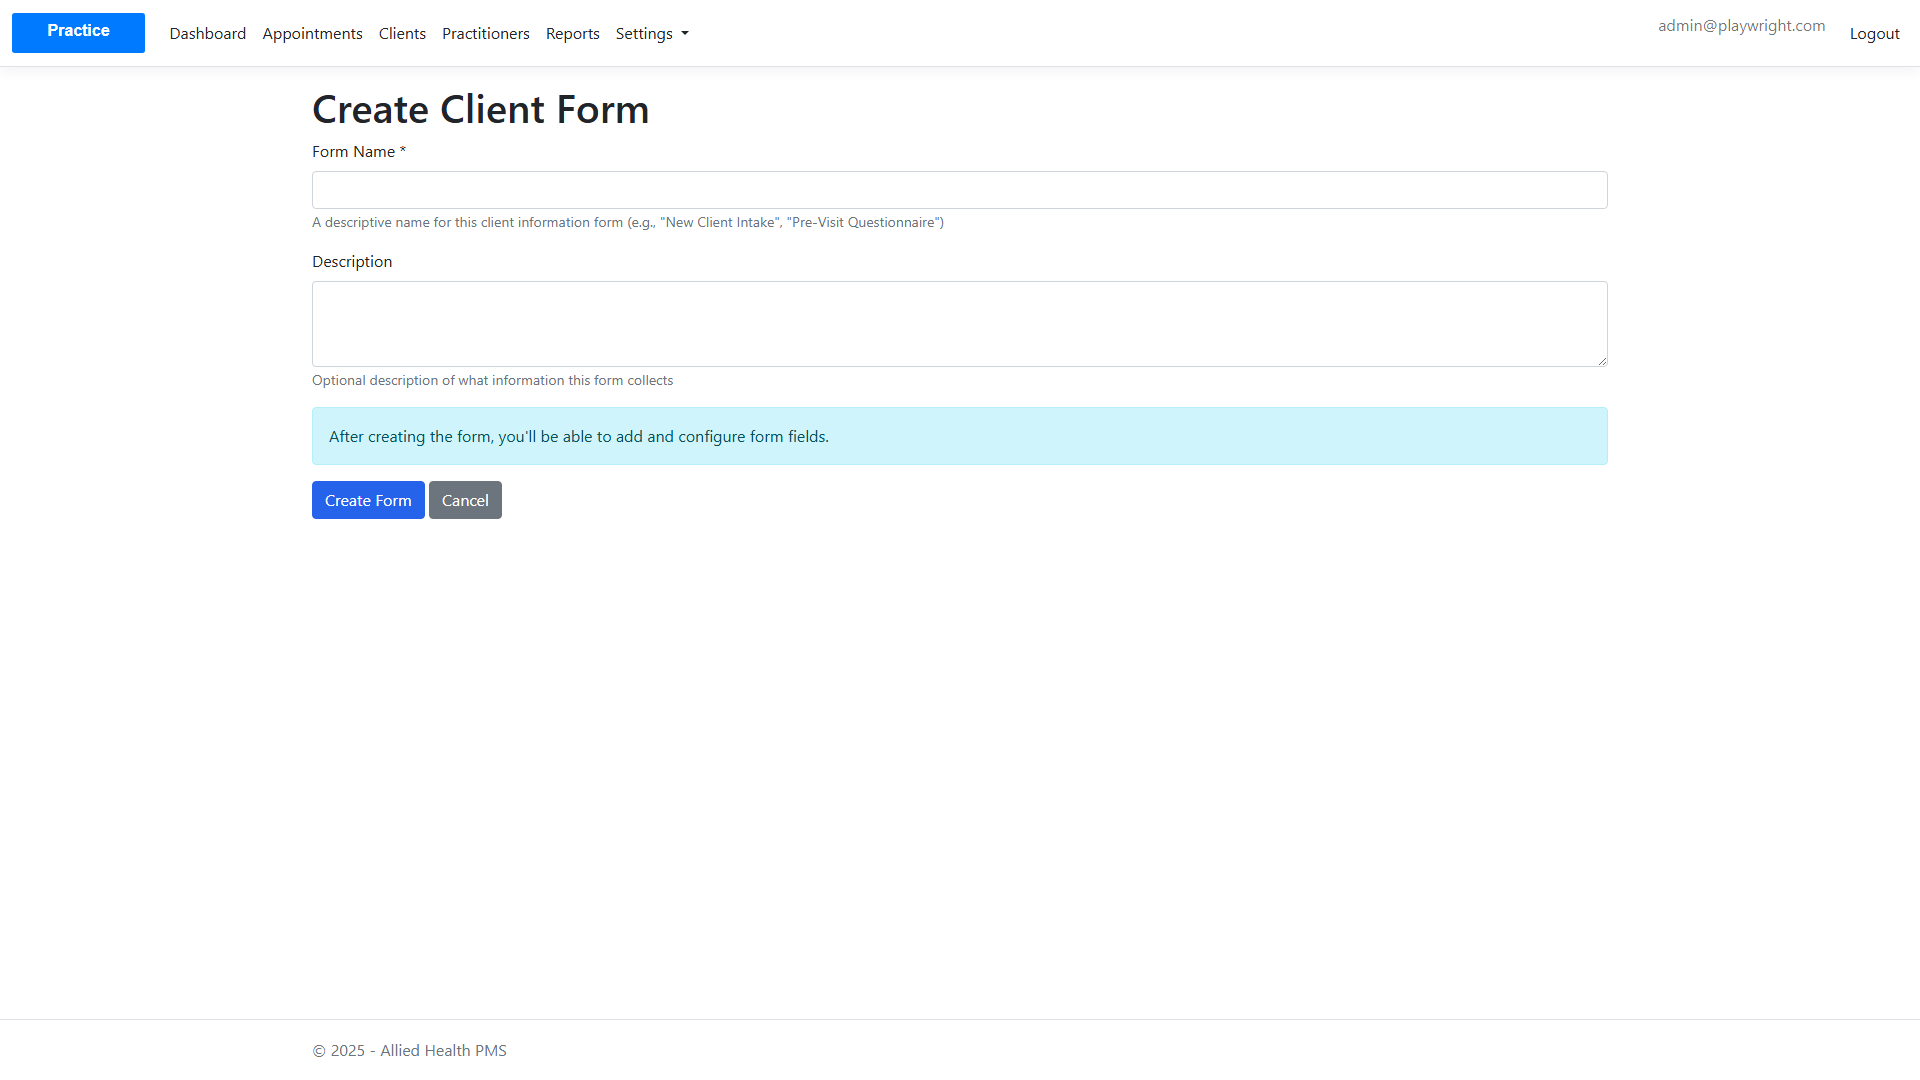
Creating a Client Form
- Click "Create Form"
- Add fields (text, date, phone, dropdown, etc.)
- Save the form
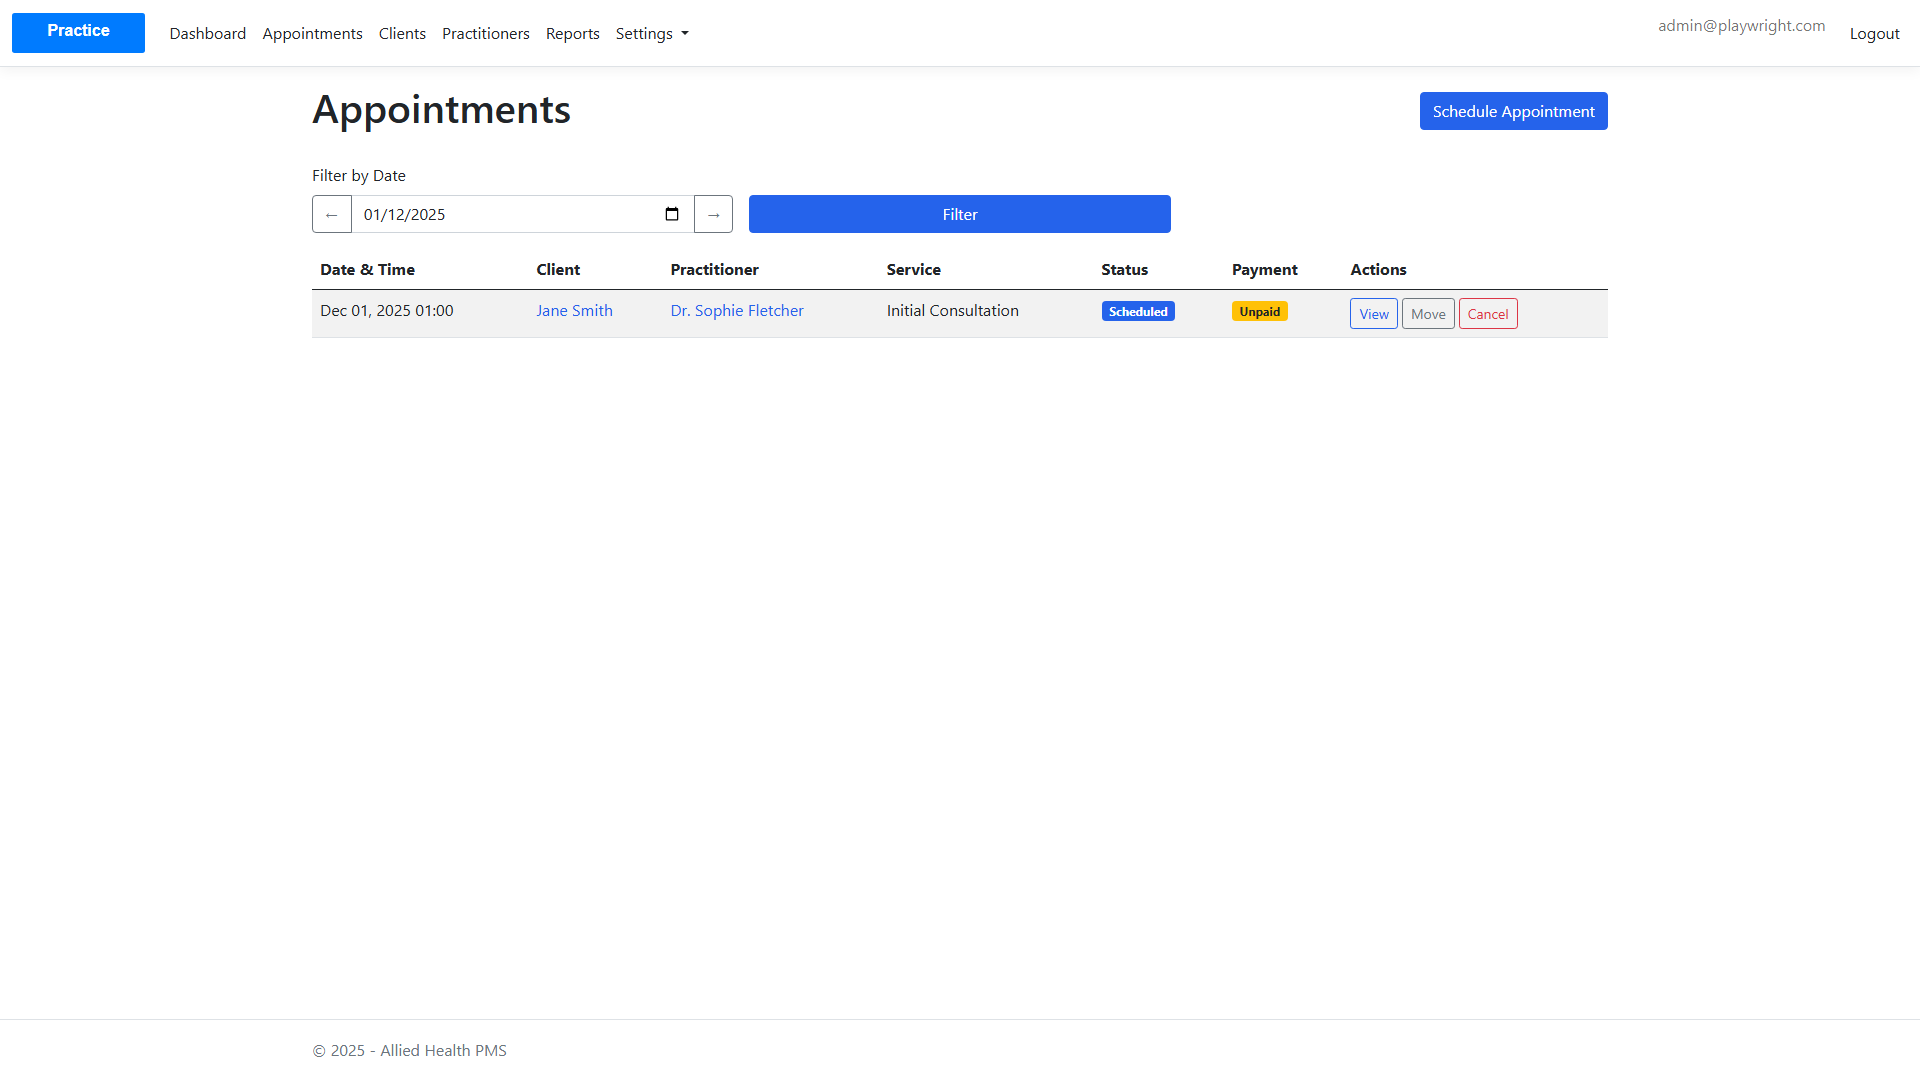
Appointment Management
Viewing Appointments
Navigate to Appointments from the main menu.
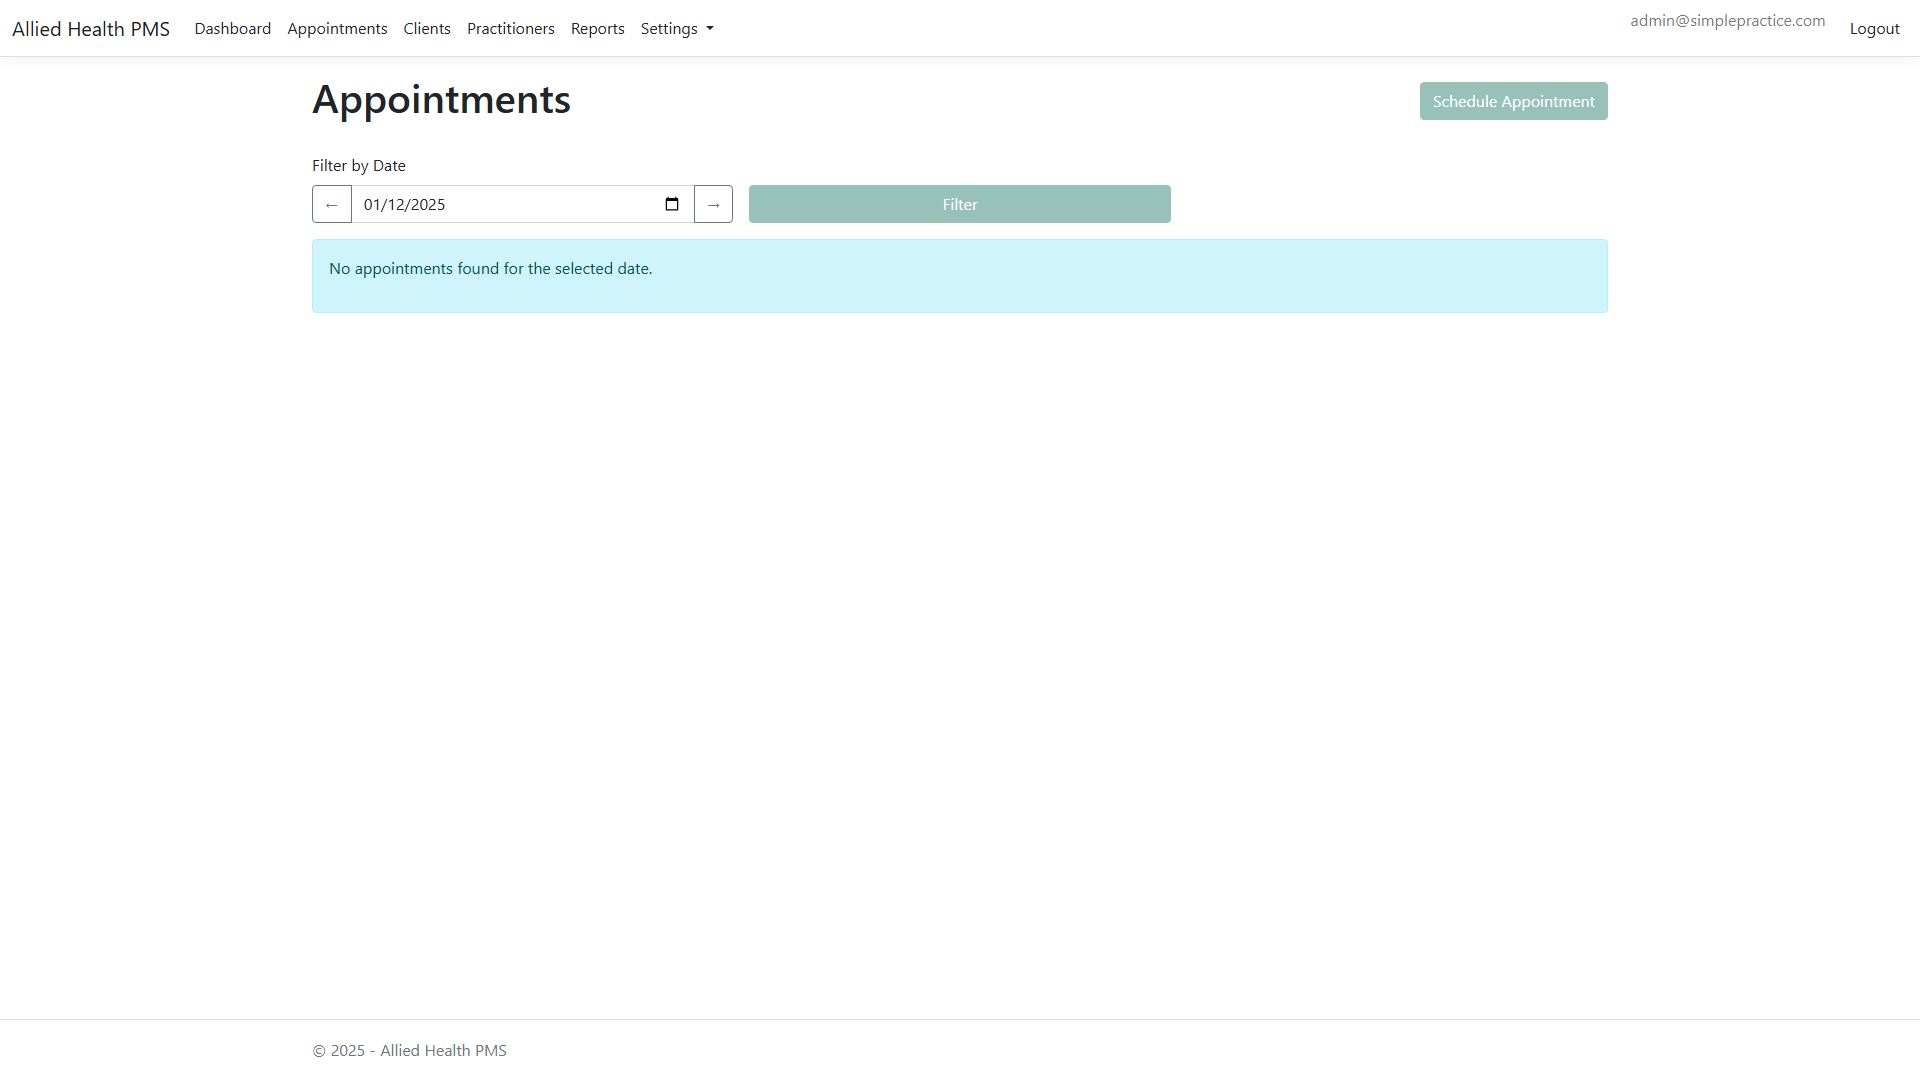
Features:
- Filter appointments by date
- View appointment details
- Schedule new appointments
Creating an Appointment
- Click "Schedule Appointment"
- Select:
- Client
- Practitioner
- Service
- Date & Time
- Status
- Click "Schedule Appointment"

Visit Notes
Visit notes allow you to document specific appointments using SOAP notes format.
Viewing Visit Notes
From an appointment's details page, click "View Visit Notes" to see all notes for that visit.

Creating a SOAP Note
- Click "Add Visit Note"
- Fill in the SOAP sections:
- Subjective: Client's description of symptoms
- Objective: Observable findings
- Assessment: Clinical assessment
- Plan: Treatment plan
- Click "Create Visit Note"
Health Plans
Health Plan Templates
Navigate to More > Health Plan Templates to manage plan templates.

Creating a Template
- Click "Create Template"
- Fill in template details:
- Plan Name
- Category
- Visit Frequency (per week)
- Duration (weeks)
- Description
- Goals (one per line)
- Price
- Click "Create Template"

Assigning Plans to Clients
- Navigate to a client's details page
- Click "View Health Plans"
- Click "Assign Plan" button
- Select a template and set start/end dates
- Click "Assign Plan"
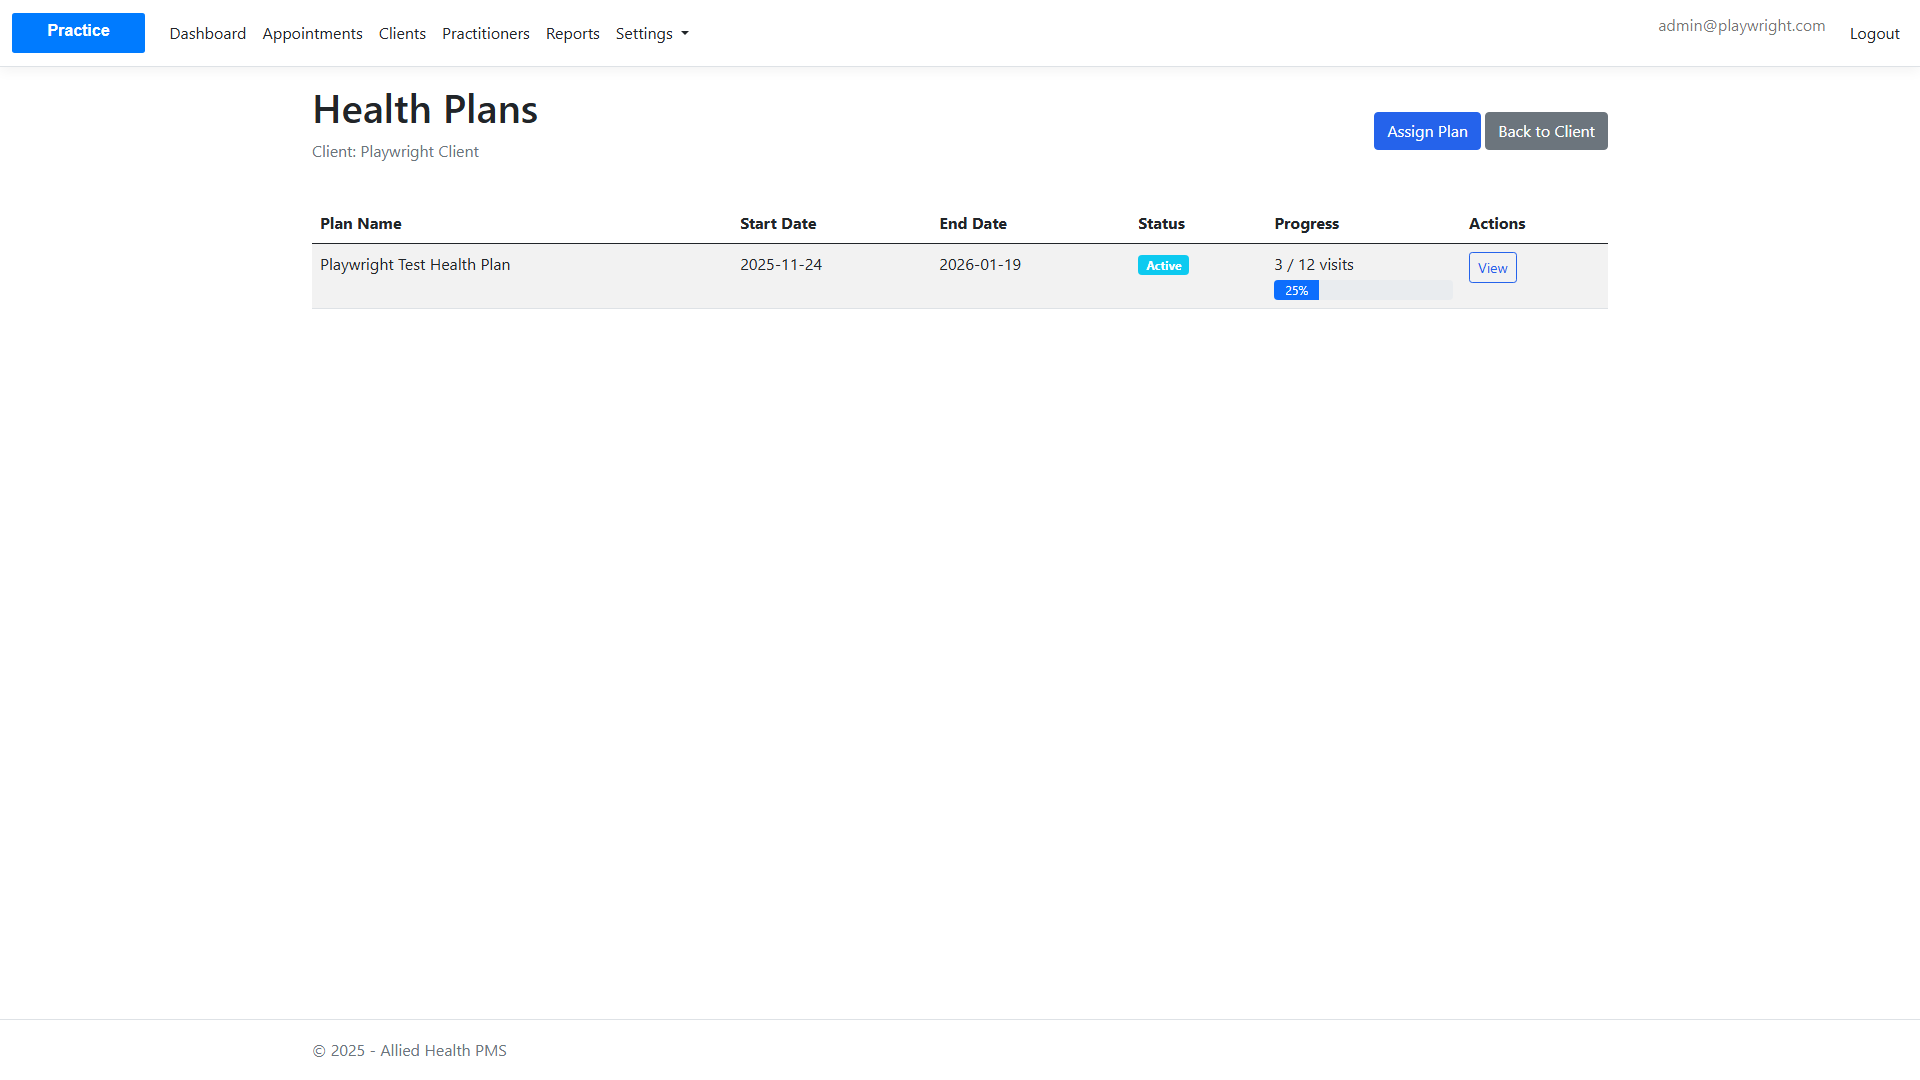
Viewing Plan Details
Click on a plan to view detailed information including progress and milestones.

Features:
- View plan progress (visits completed/total)
- Track milestones
- Update progress
- Mark milestones as complete
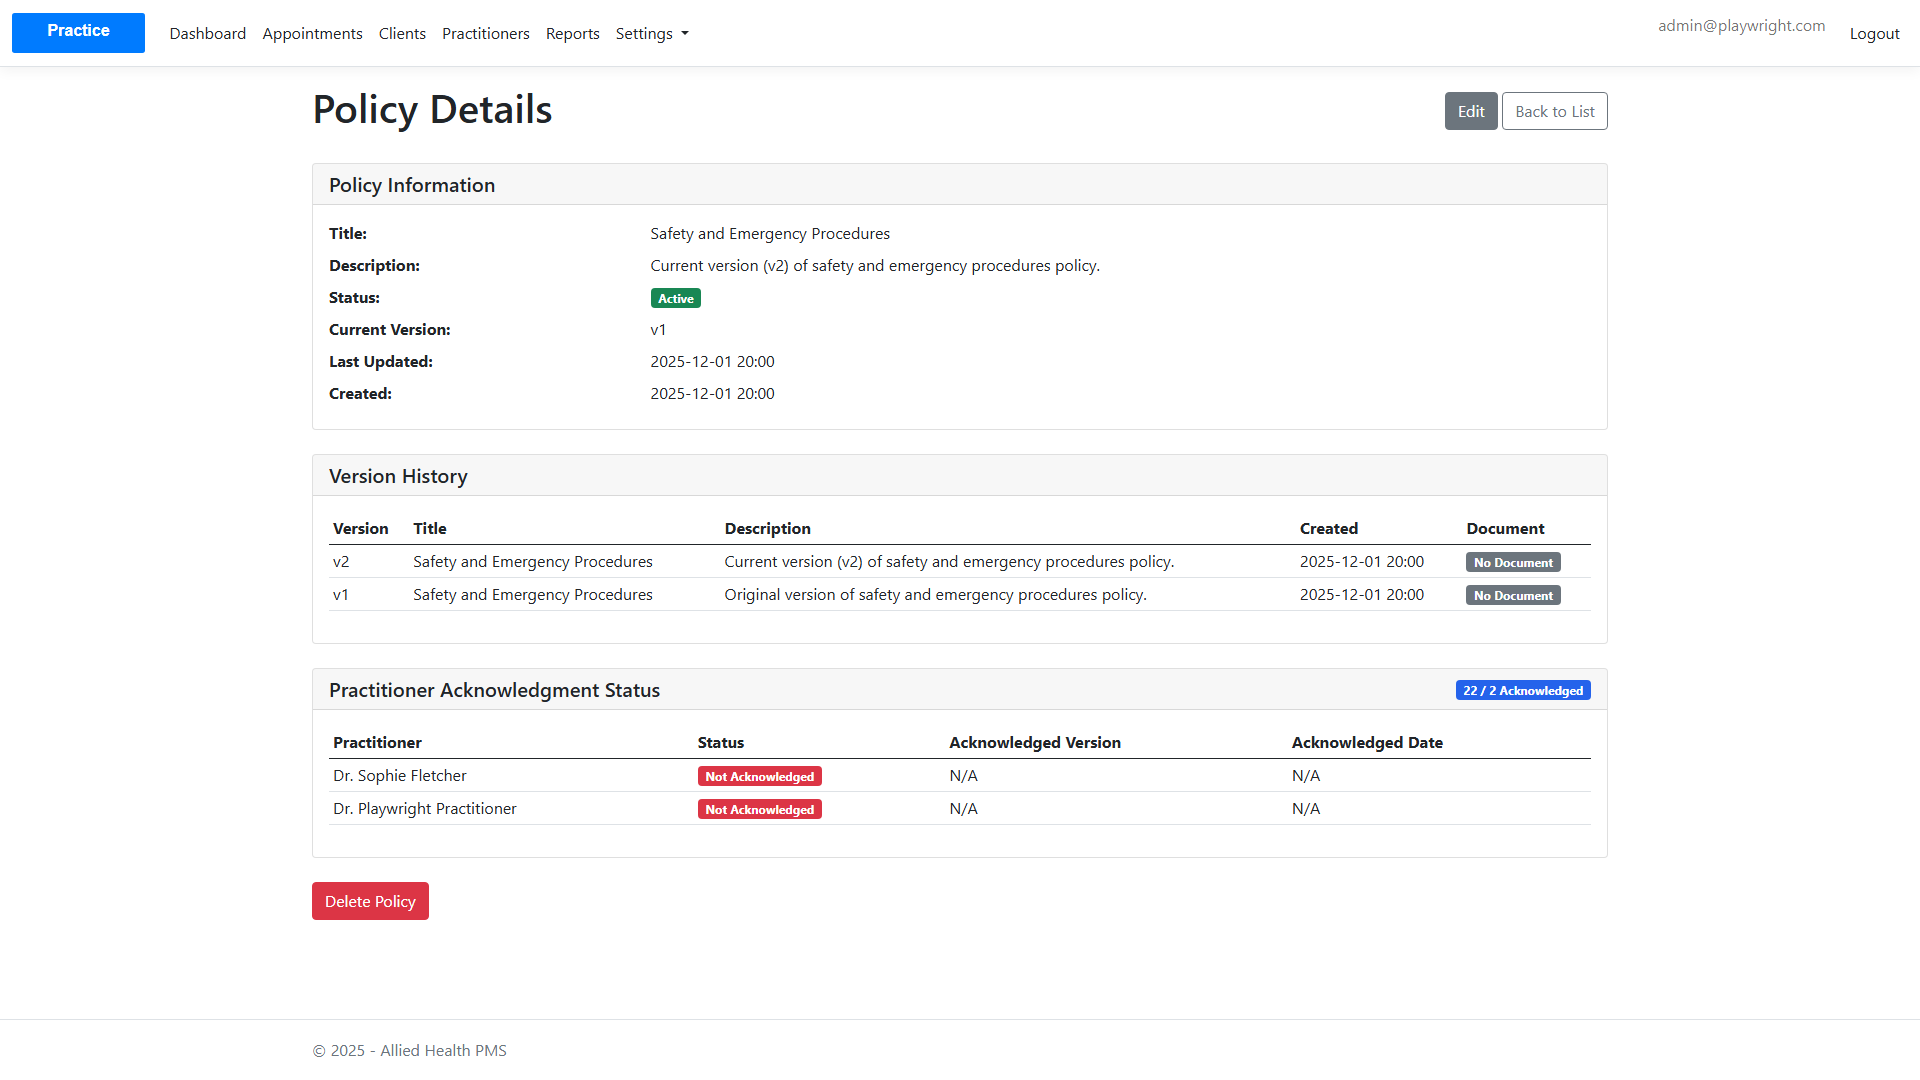
Policies
Policies allow you to manage compliance documents and track acknowledgments.
Viewing Policies
Navigate to Policies to see all active and inactive policies.
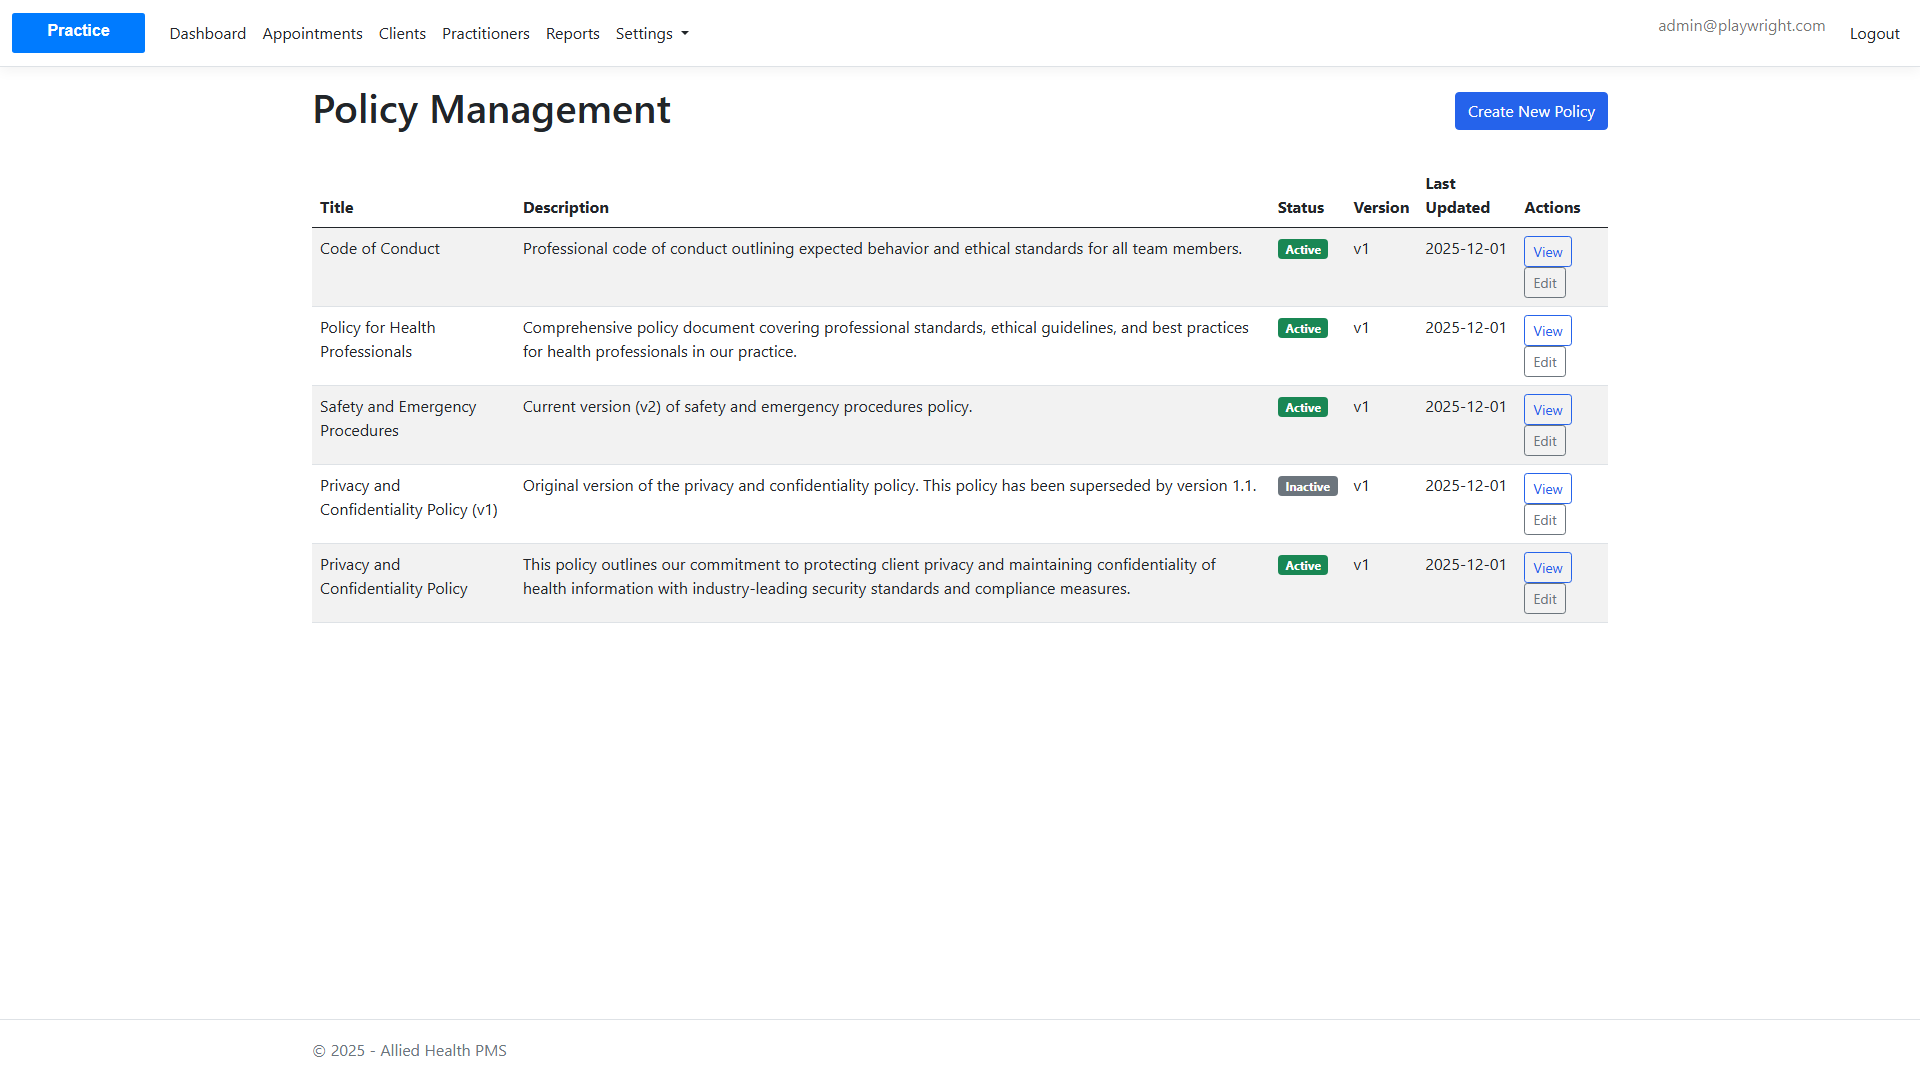
Viewing Policy Details
Open a policy to review versions and acknowledgment status.
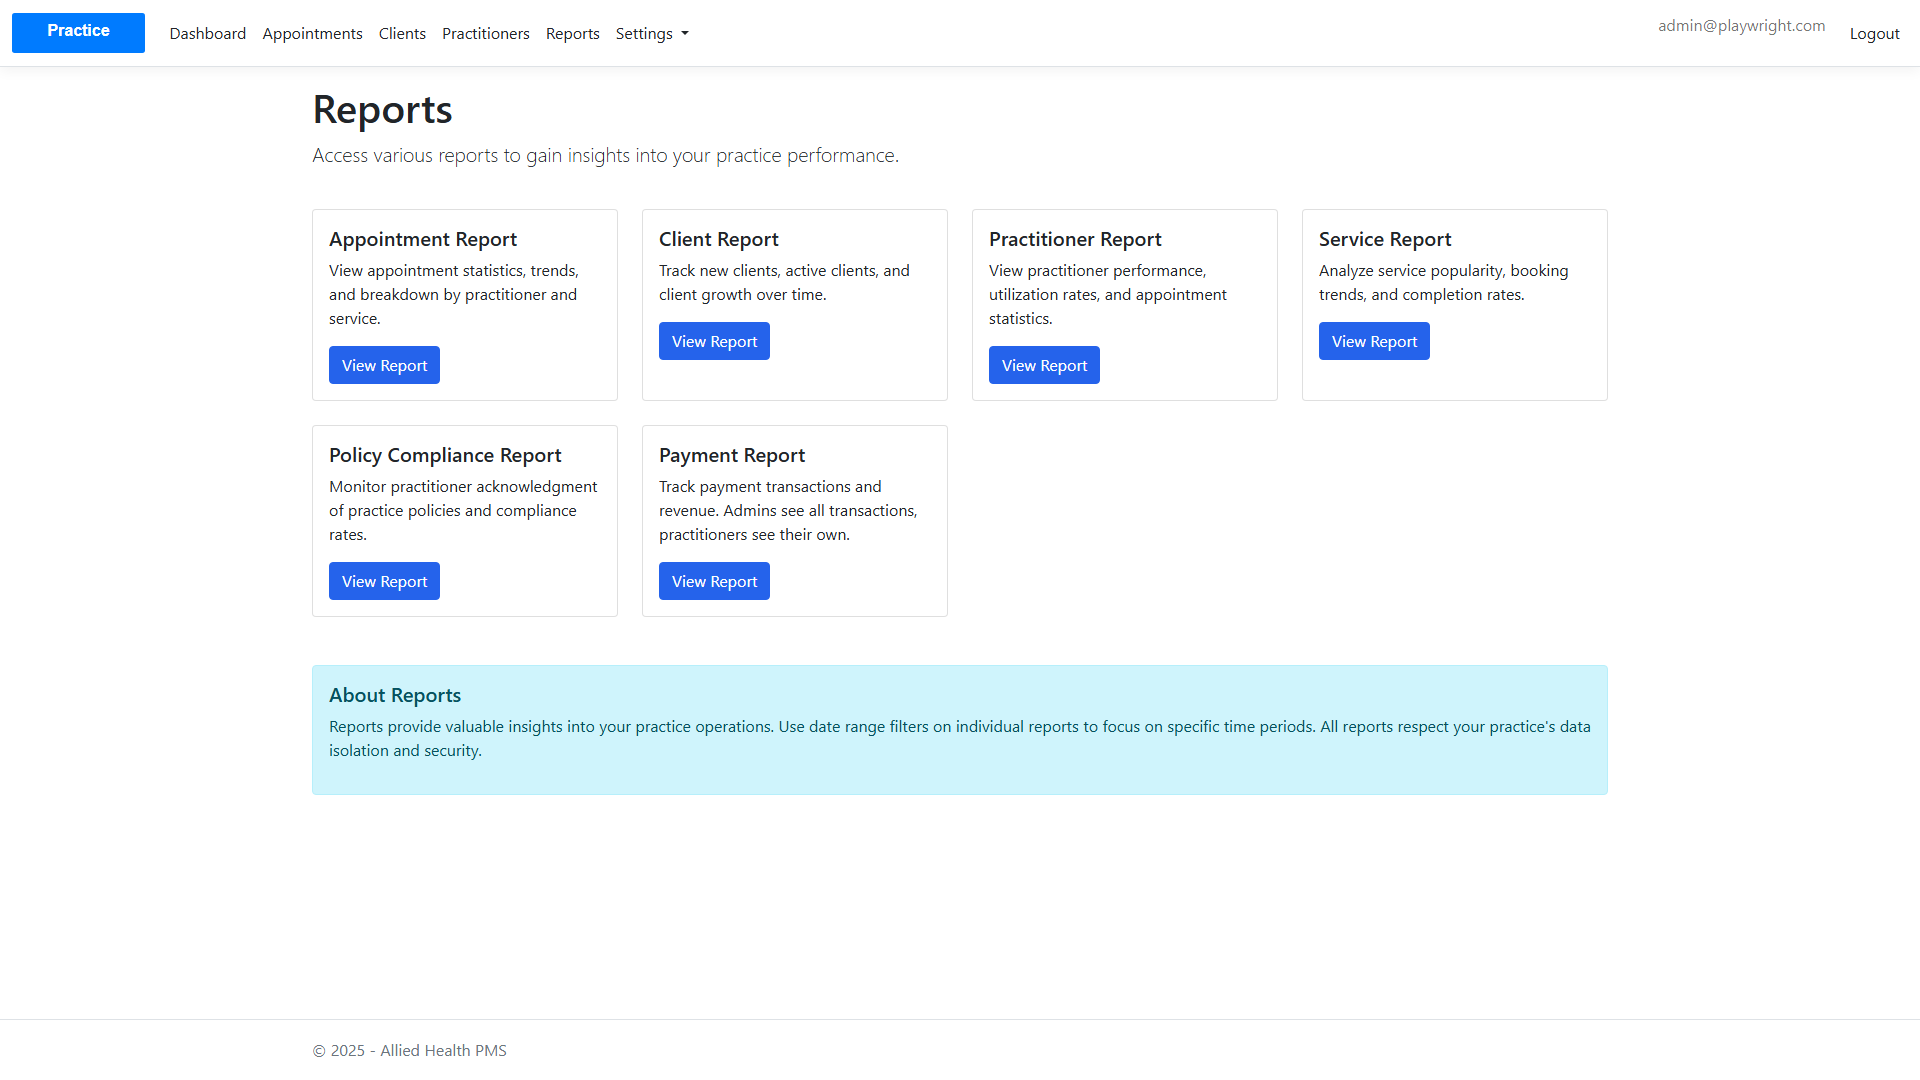
Reports
Reports help you analyze appointments, clients, practitioners, and services.
Reports Dashboard
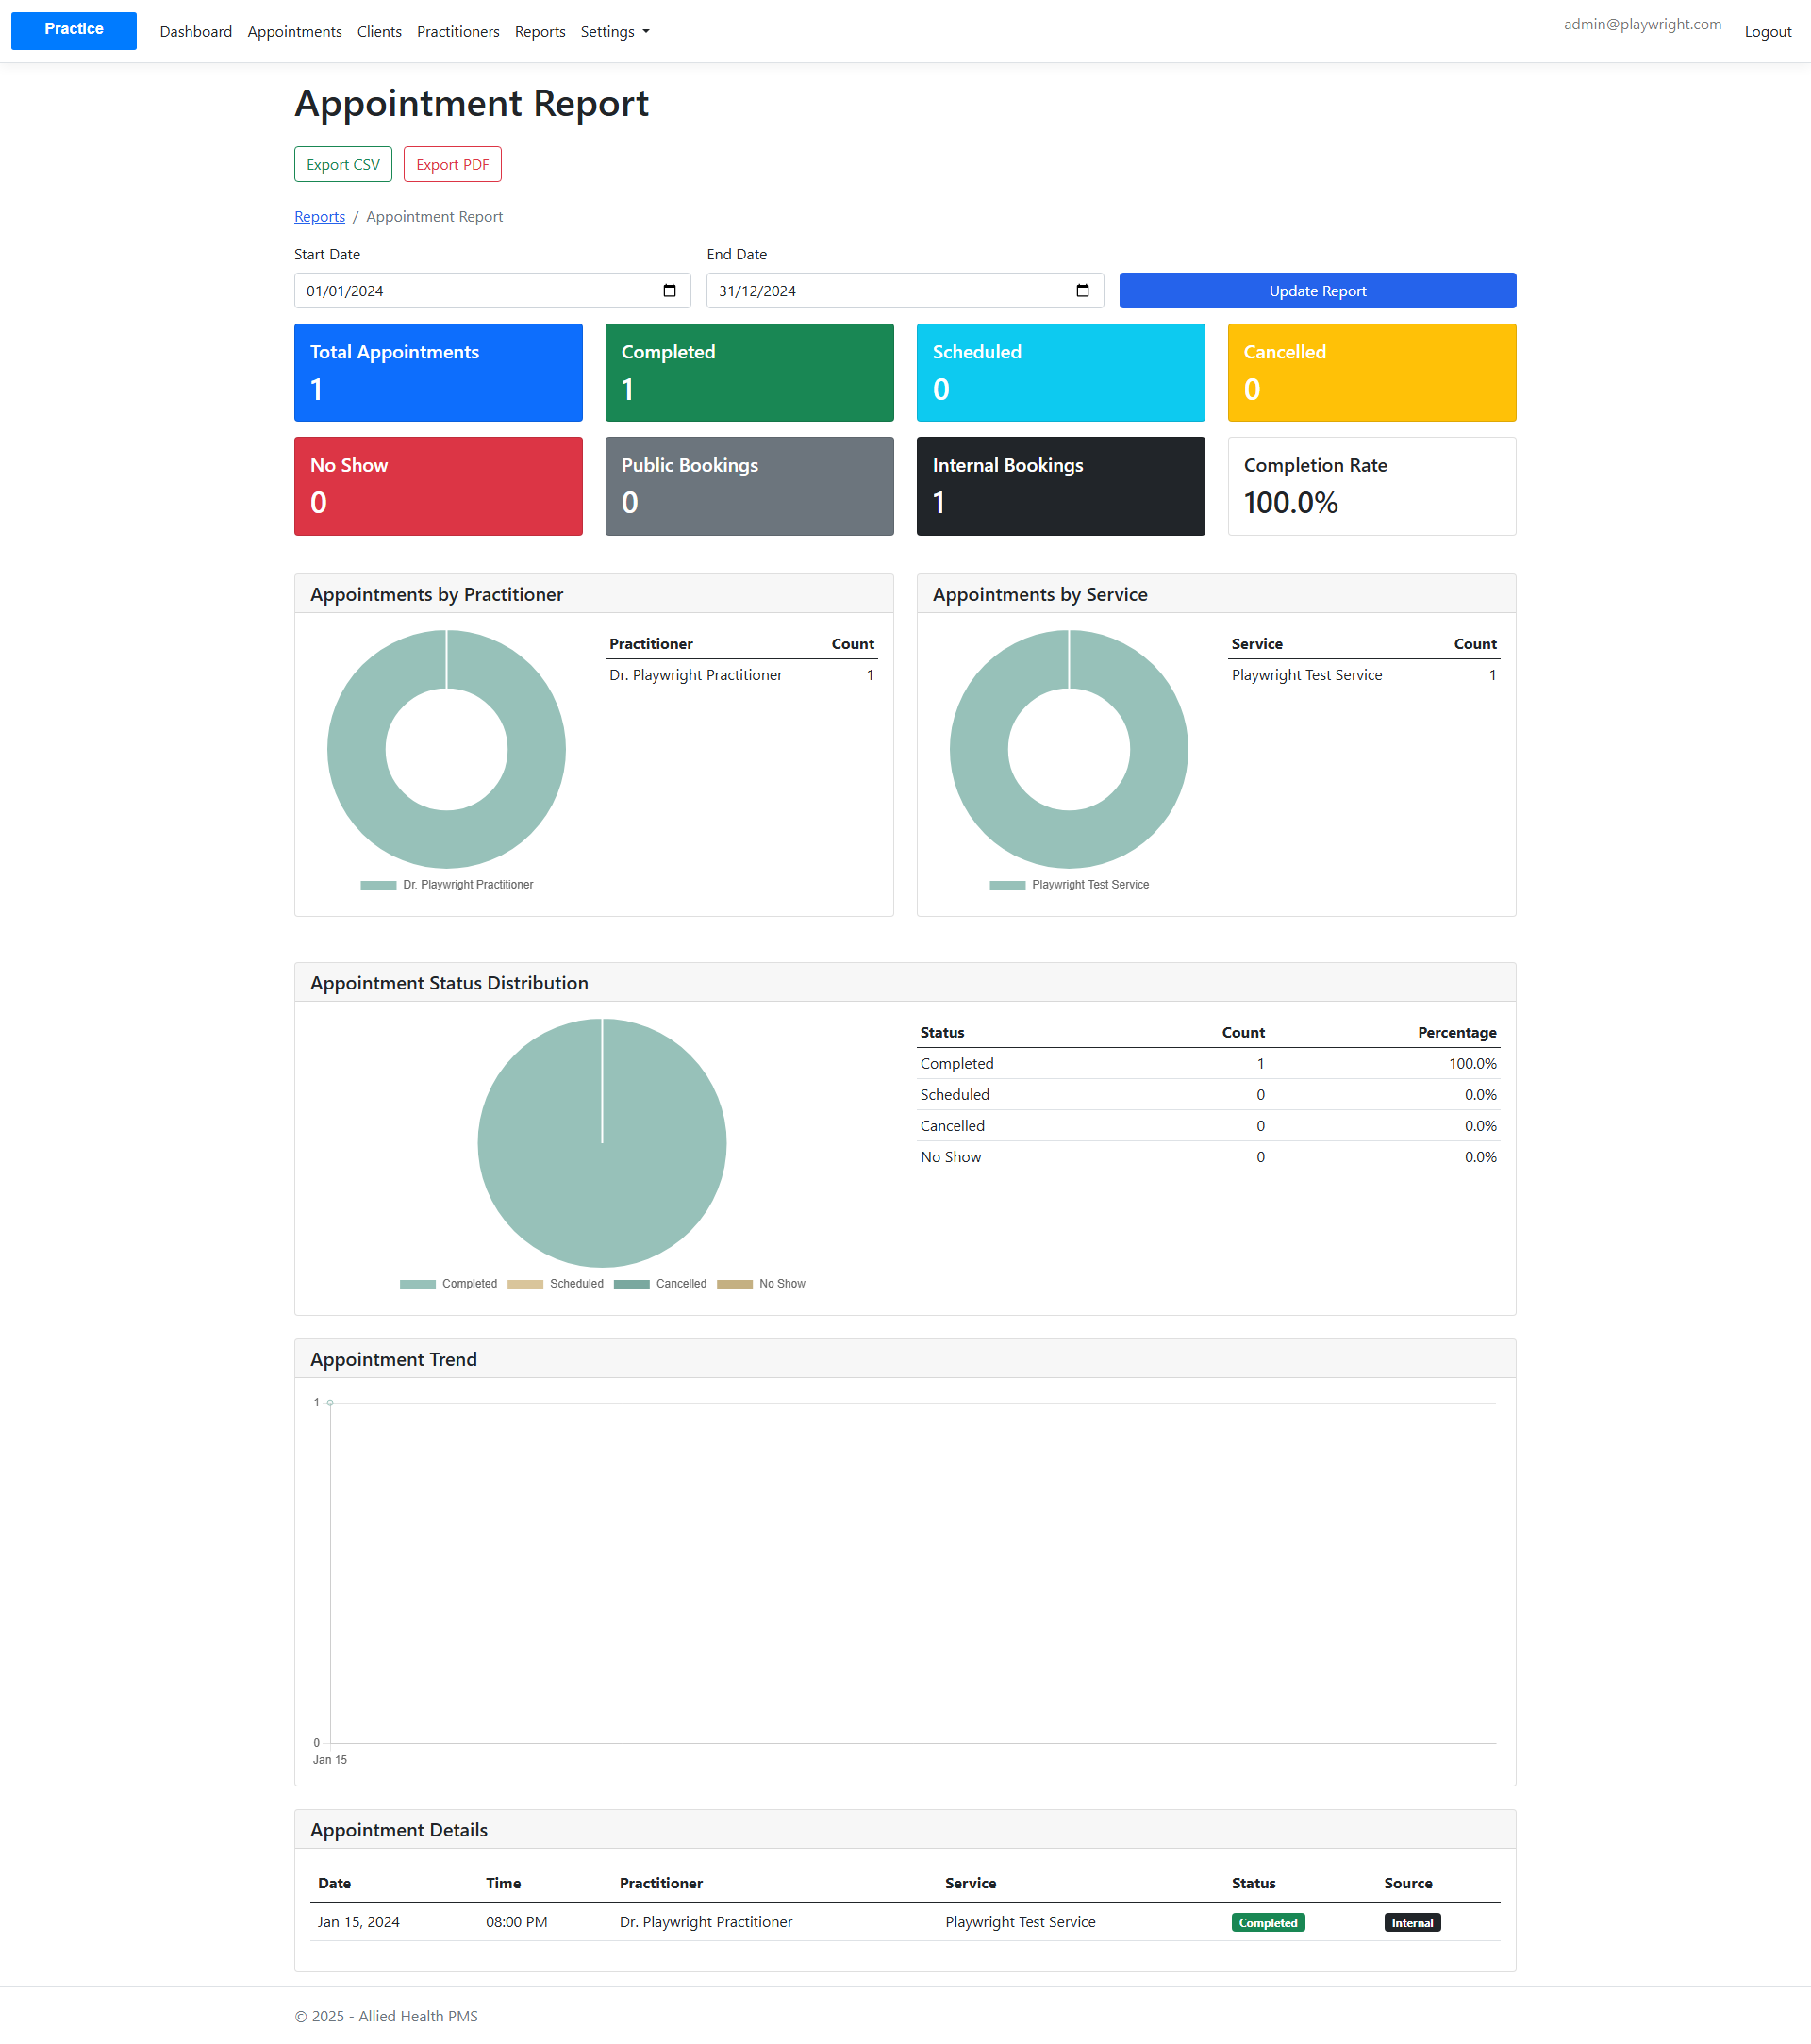
Appointments Report
Filter by date range and export when needed.
Subscription Management
Manage your practice subscription including practitioner slots and billing.
Viewing Subscription Details
Navigate to Subscription from the main menu to view your current subscription status.
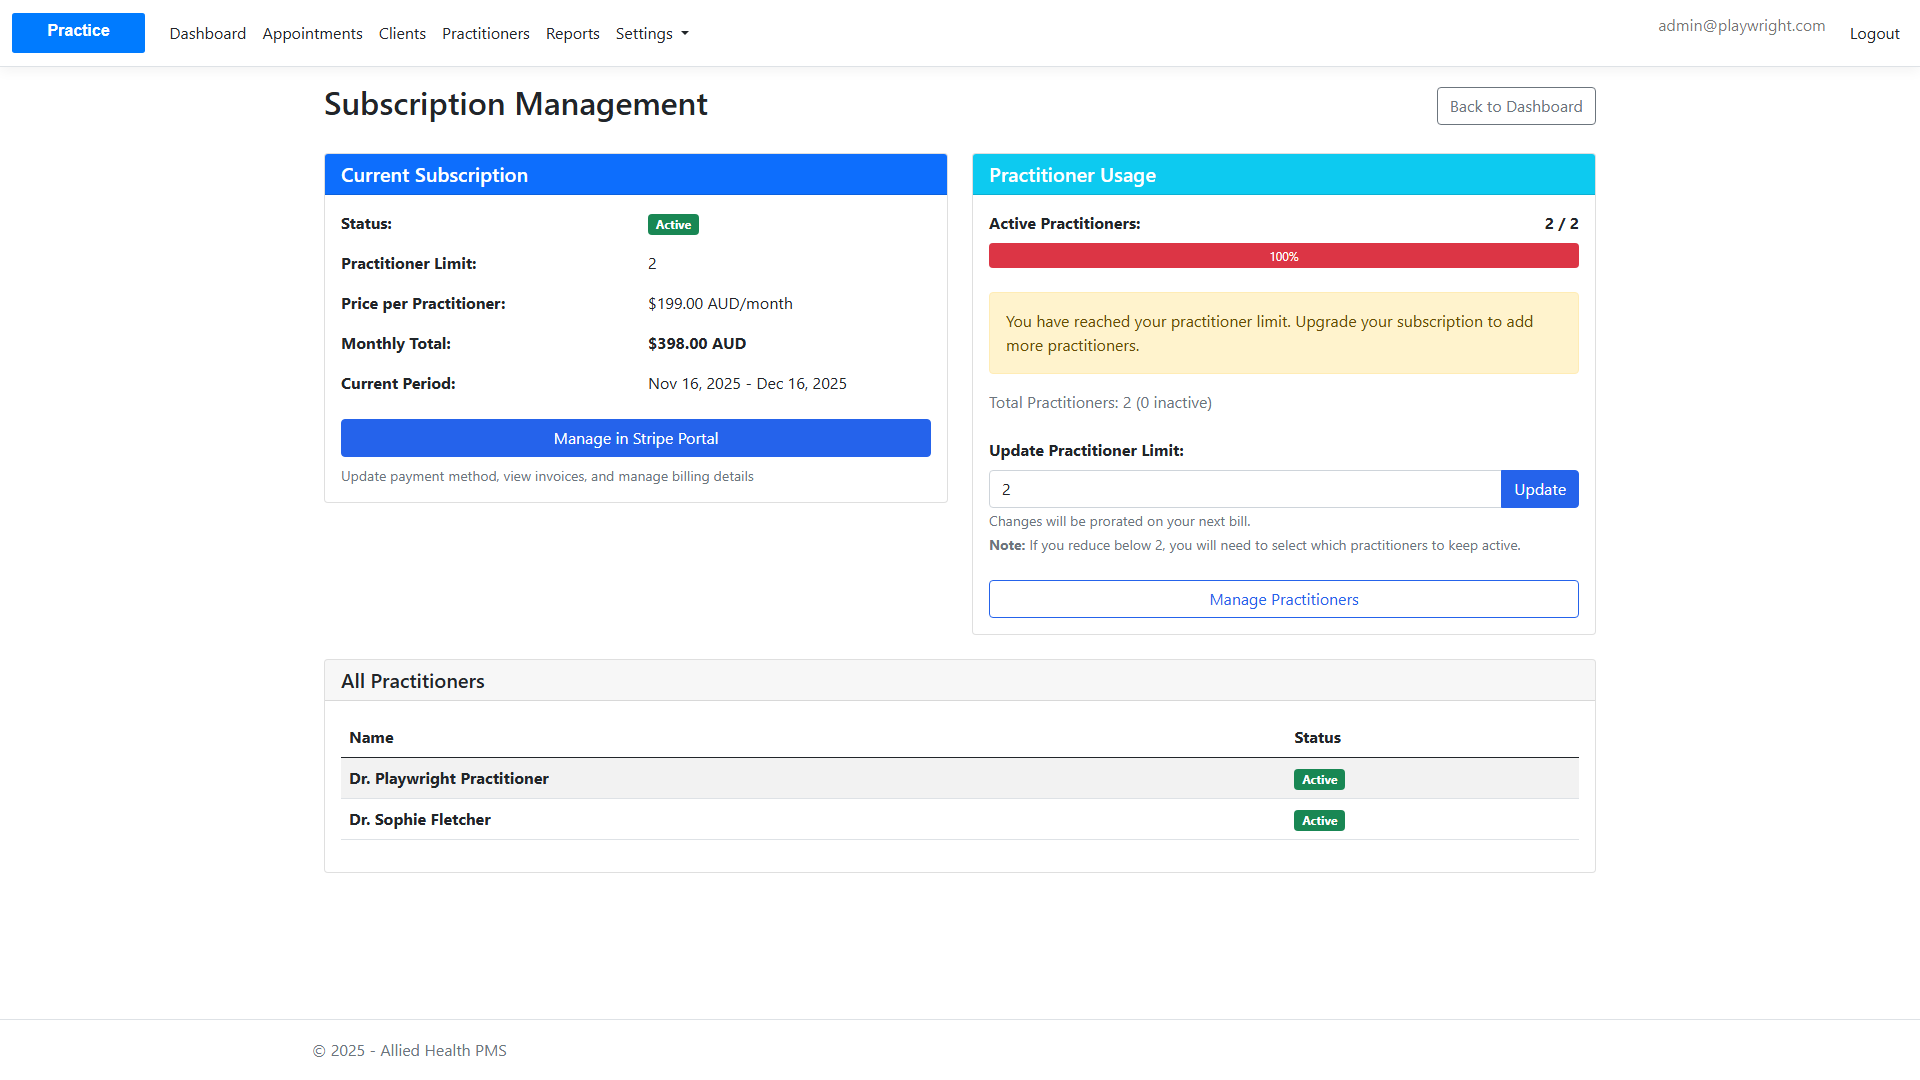
Features:
- View subscription status and billing information
- See current practitioner count and limits
- Manage subscription quantity (practitioner slots)
- Payment method and billing history
Managing Practitioner Slots
If you need to reduce your practitioner slots, you'll be directed to select which practitioners to keep active.
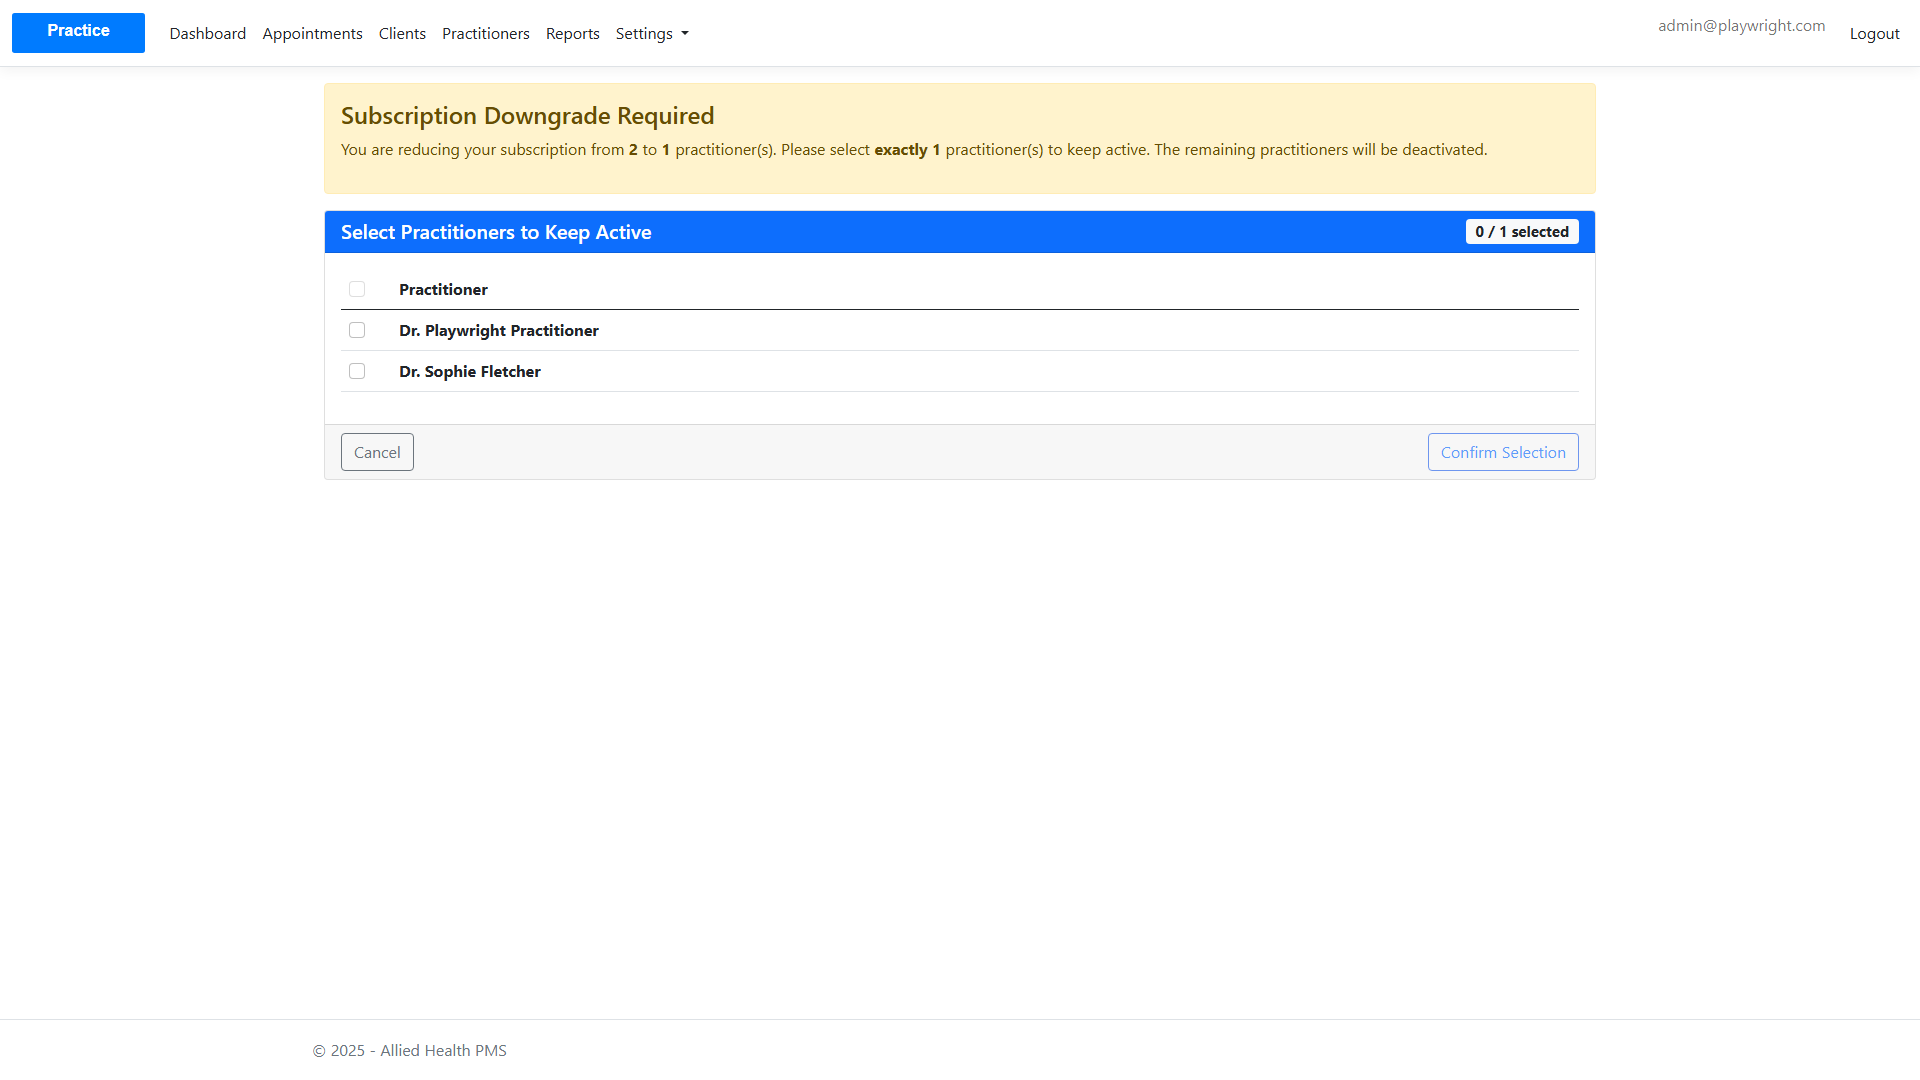
Process:
- From the Subscription page, view your current practitioner count
- To increase slots, update the practitioner count and confirm the change
- If reducing slots, select which practitioners to keep active
- Confirm changes - they will be reflected on your next billing cycle
Practitioner Management
Viewing Practitioners
Navigate to Practitioners from the main menu.

Creating a Practitioner
- Click "Add Practitioner"
- Fill in practitioner information:
- Name
- Title
- Bio
- Link to User Account (optional)
- Click "Create Practitioner"

Service Management
Viewing Services
Navigate to Services from the main menu.

Creating a Service
- Click "Add Service"
- Fill in service details:
- Service Name
- Duration (30, 45, 60, or 90 minutes)
- Price
- Description
- Click "Create Service"

Settings
Practice Settings
Navigate to Settings from the main menu.

Features:
- Update practice name
- Update contact information
- Manage practice address
Widget Configuration
Click "View Widget Code" to access the embeddable booking widget configuration.
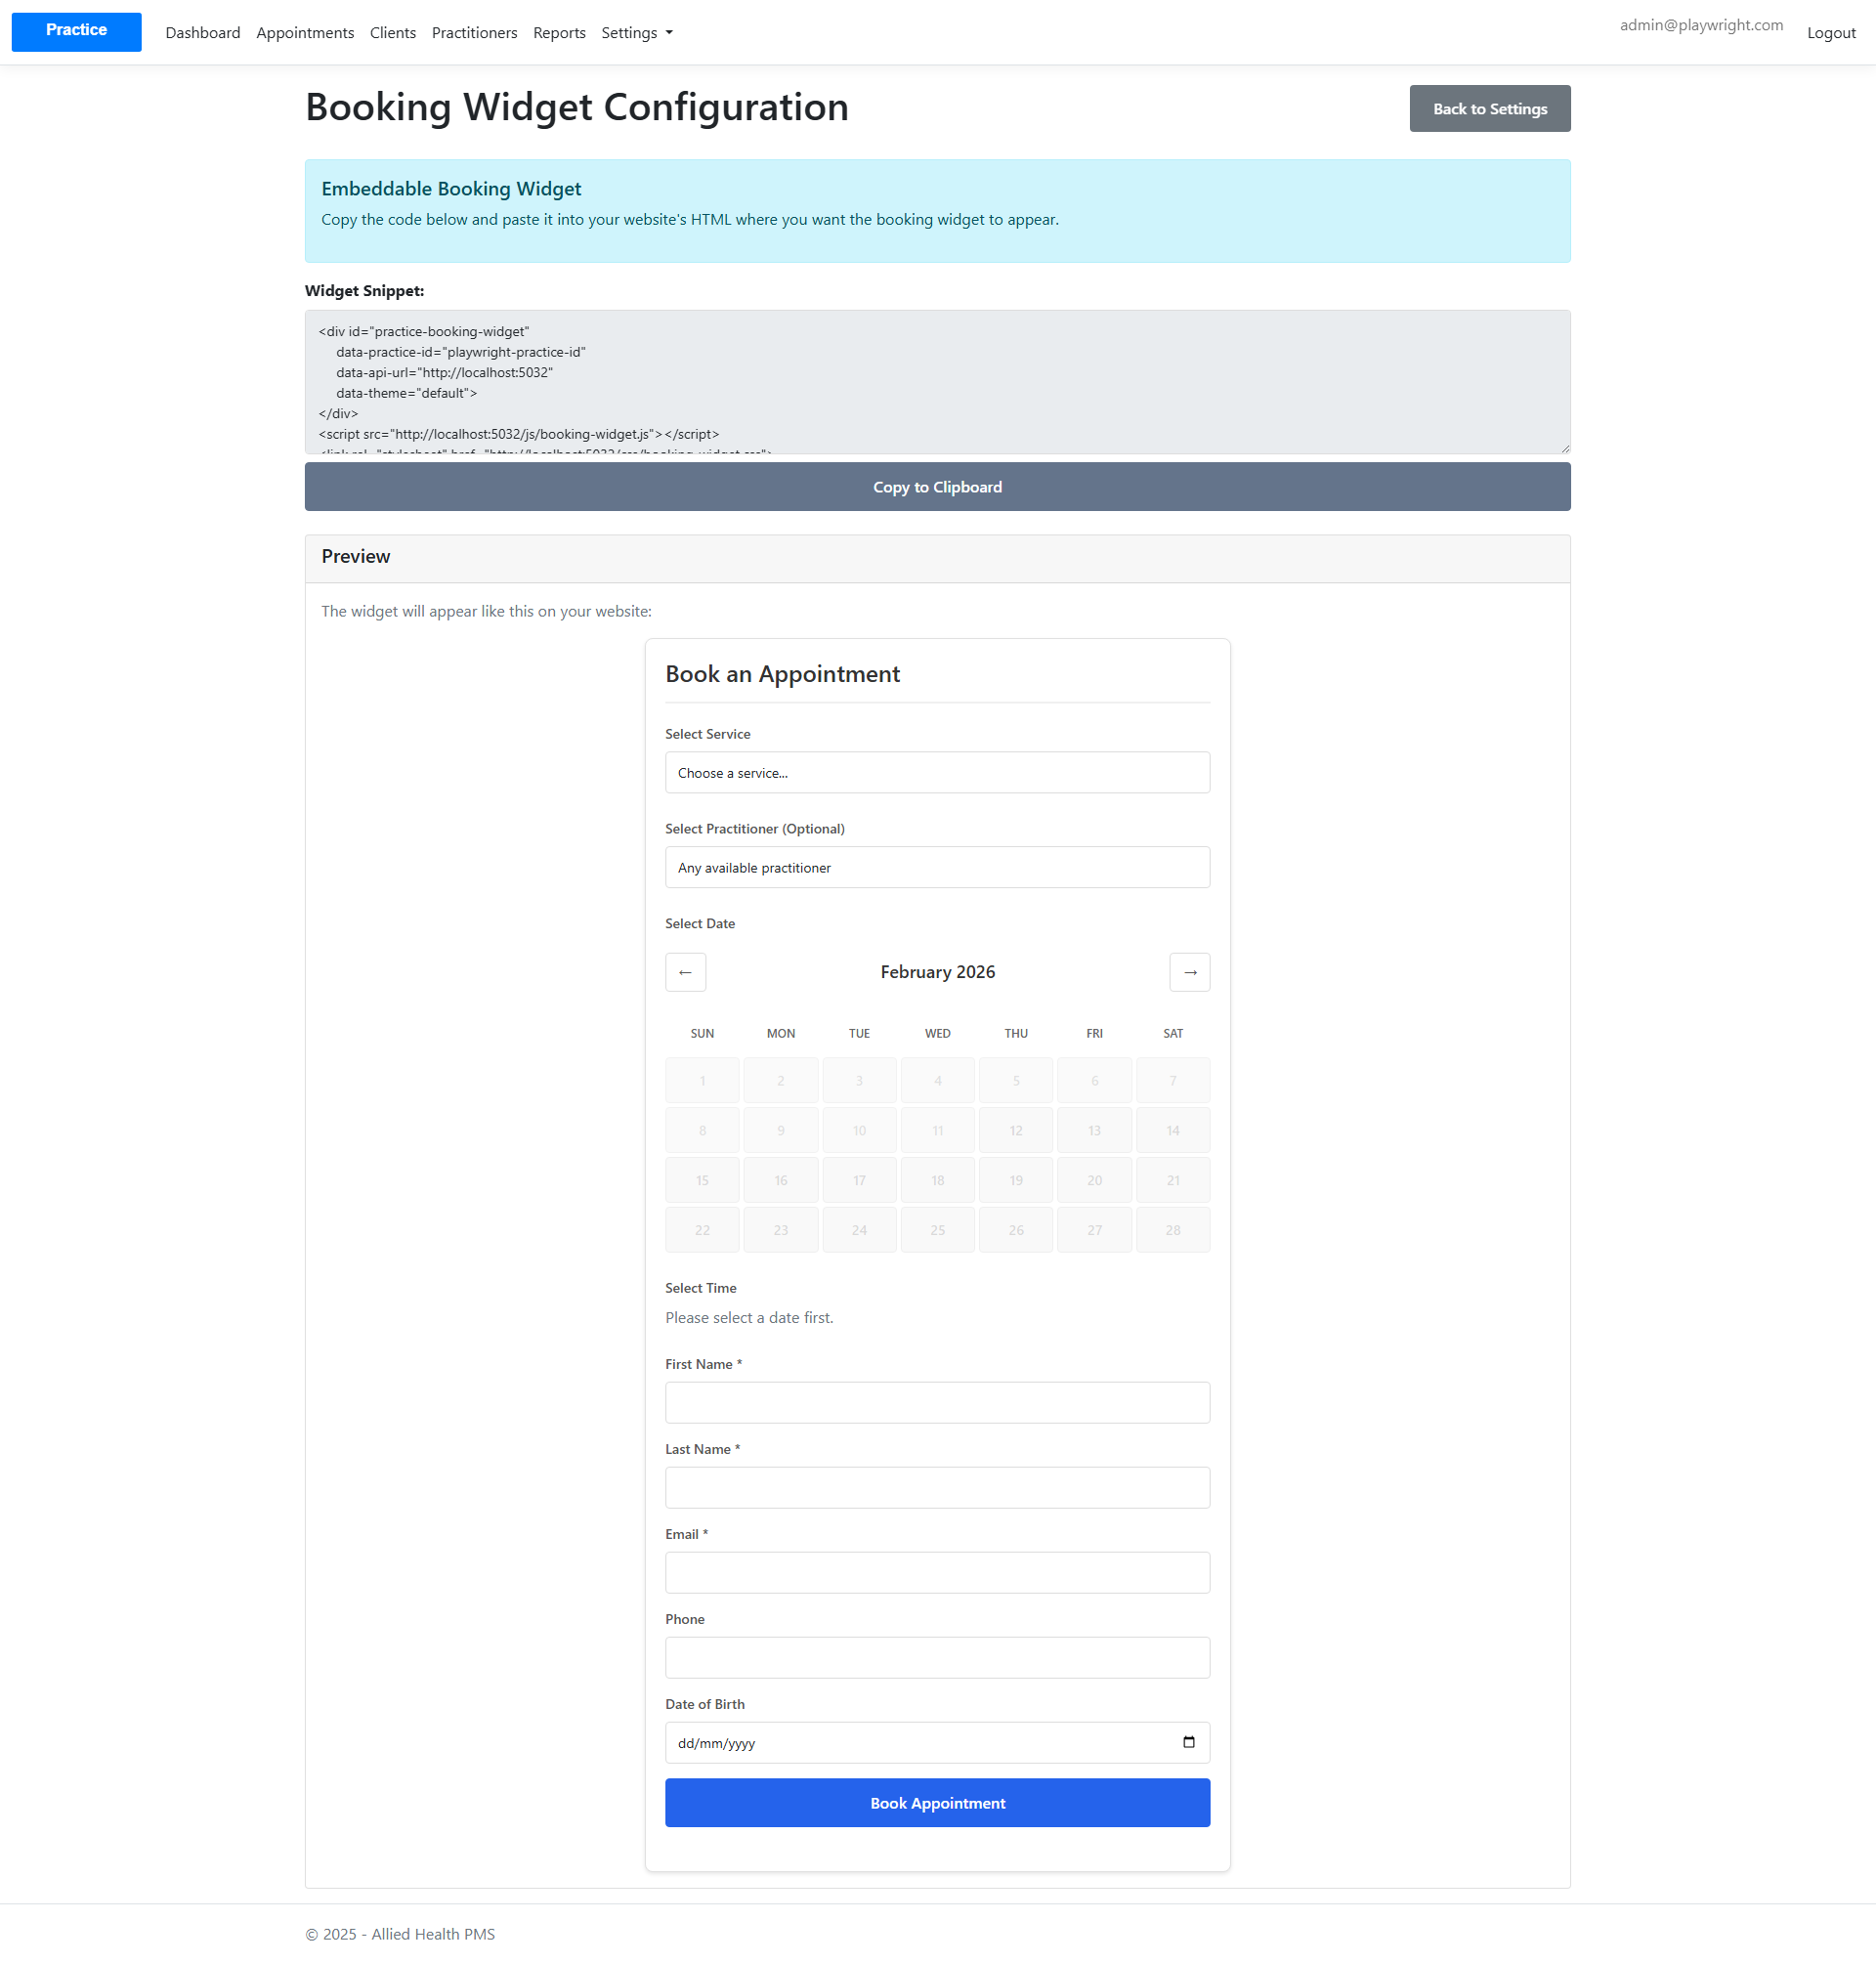
Features:
- Copy widget snippet
- Preview widget
- Customize widget settings
Website Settings
Configure your public practice website, including slug, template, and publish status.
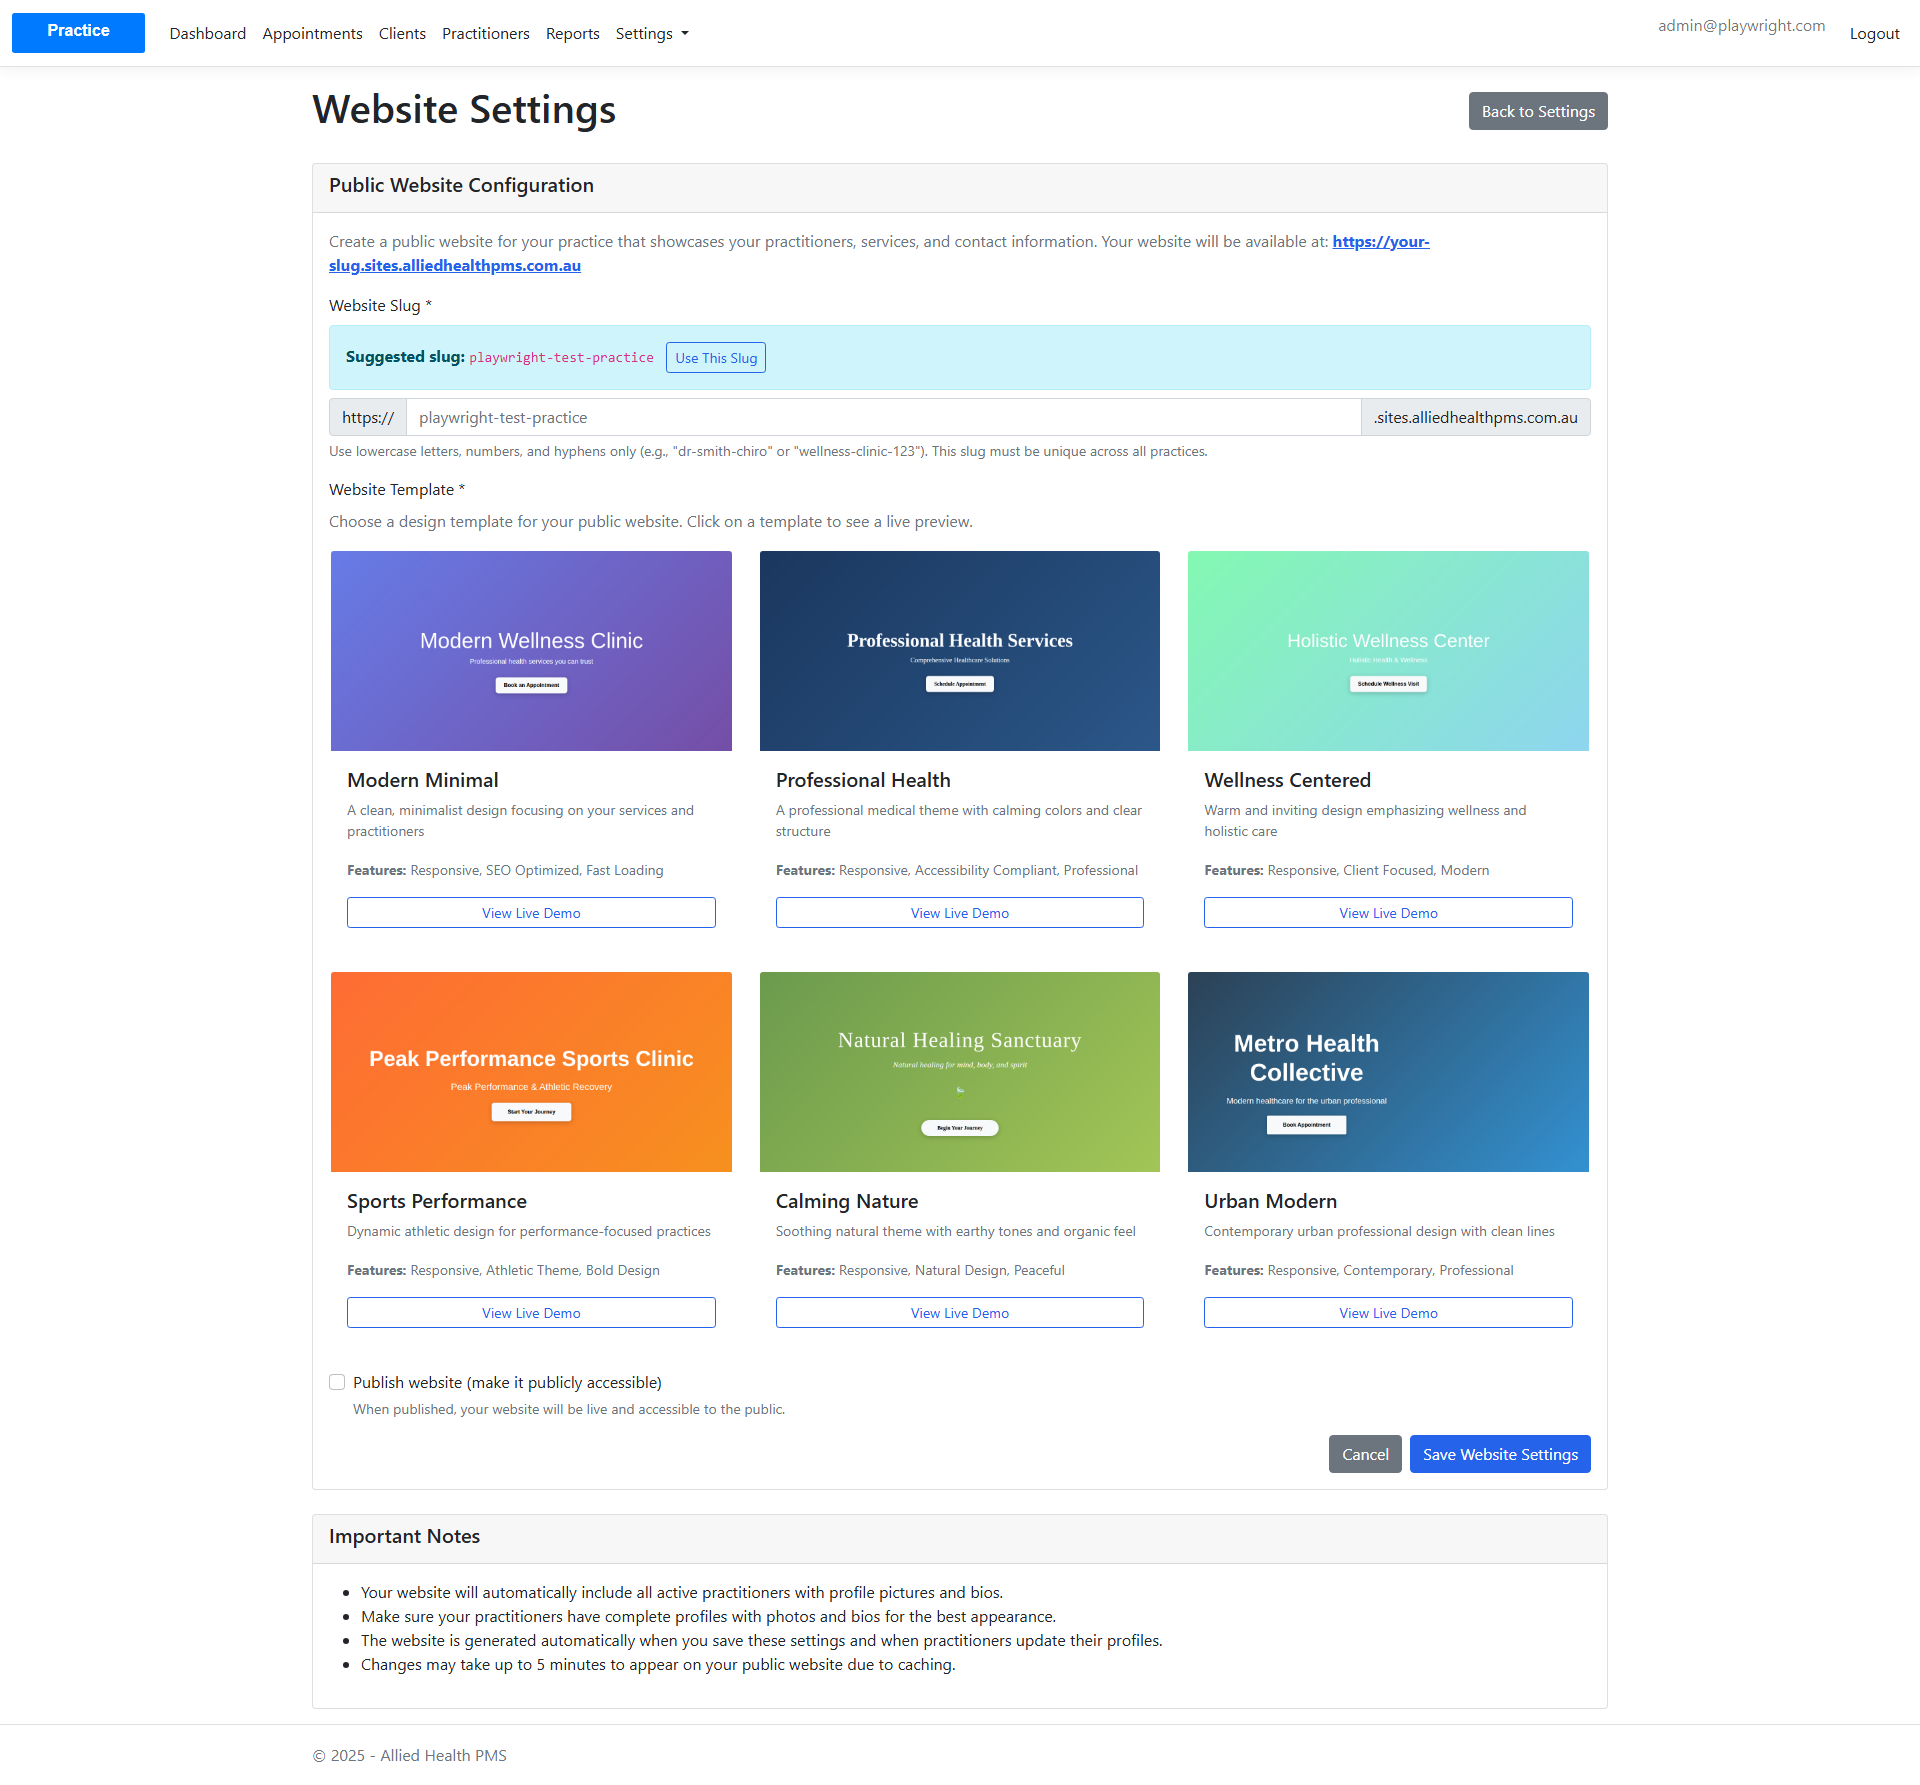
Features:
- Set your website slug and preview the public URL
- Choose a design template and view live demos
- Publish or unpublish the site
User Management
Manage practice users and roles from the Users page.
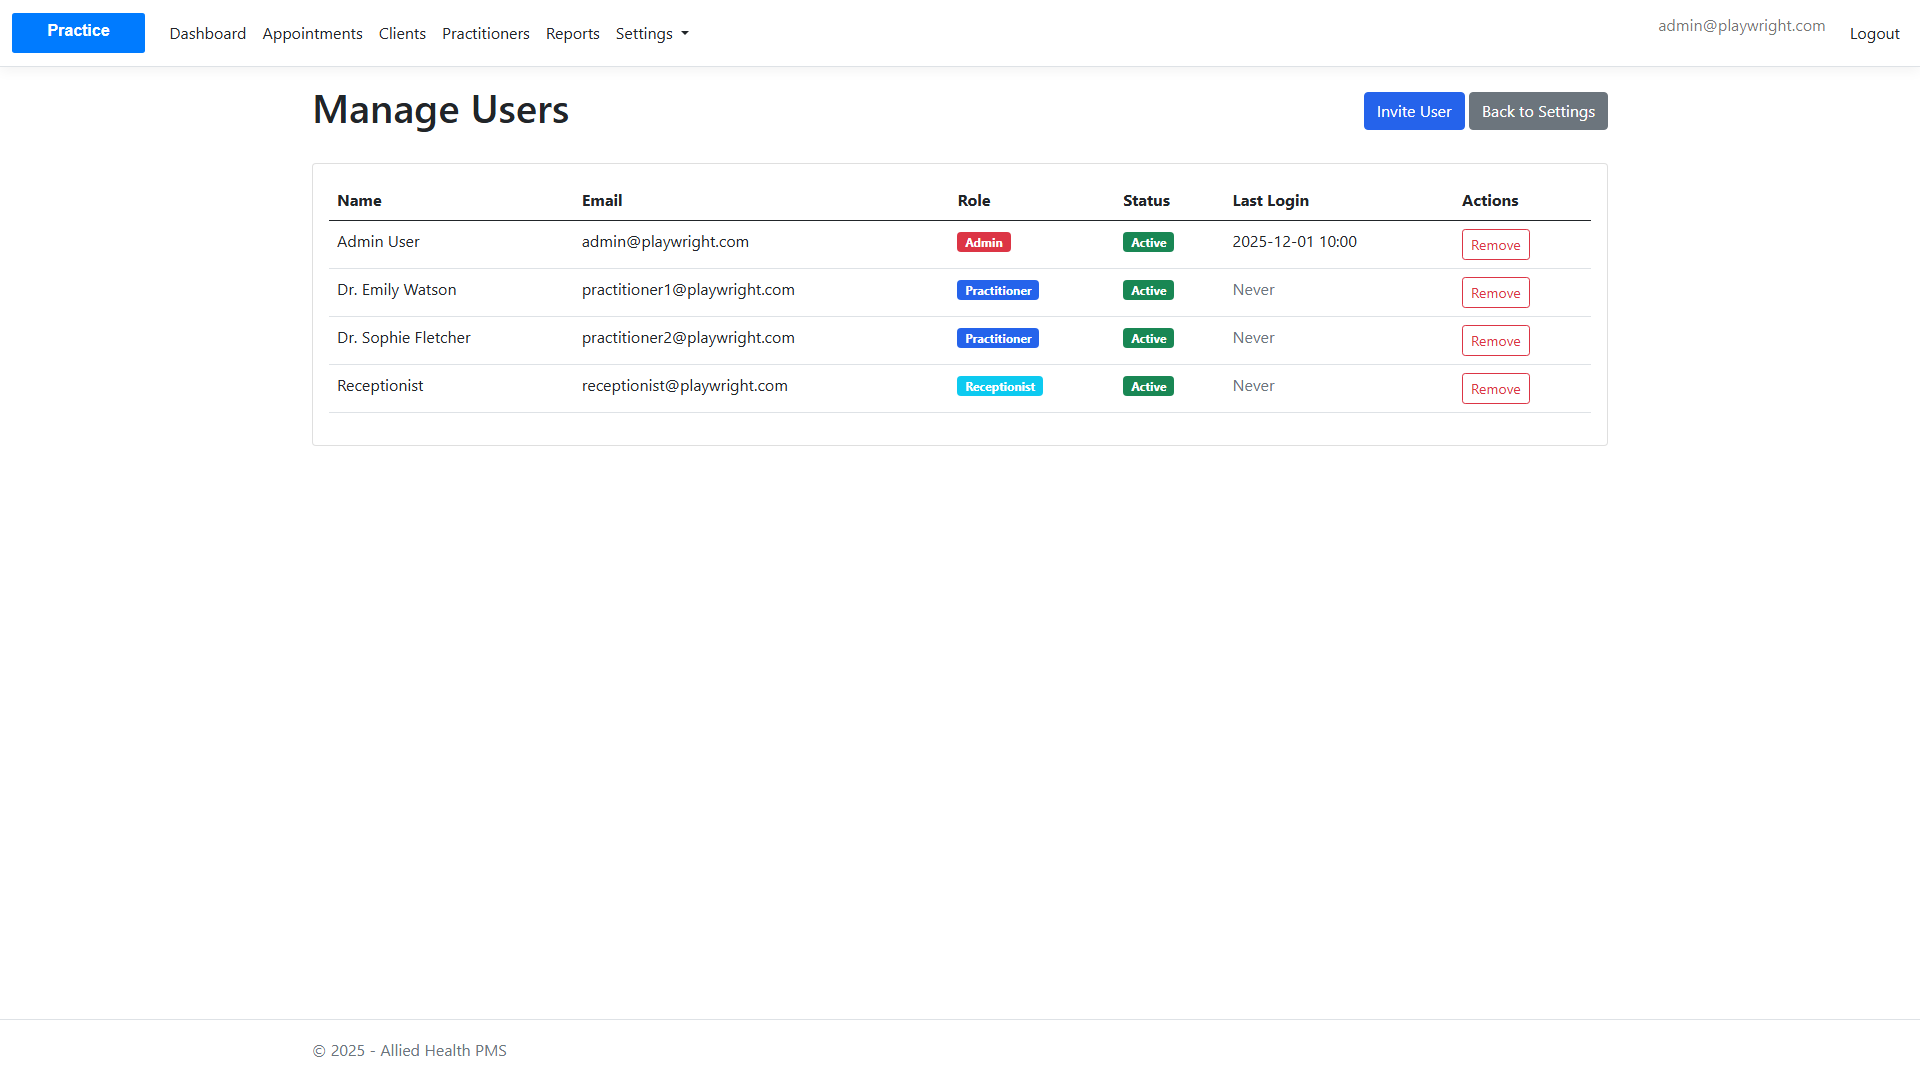
Invite new users with role-specific access.

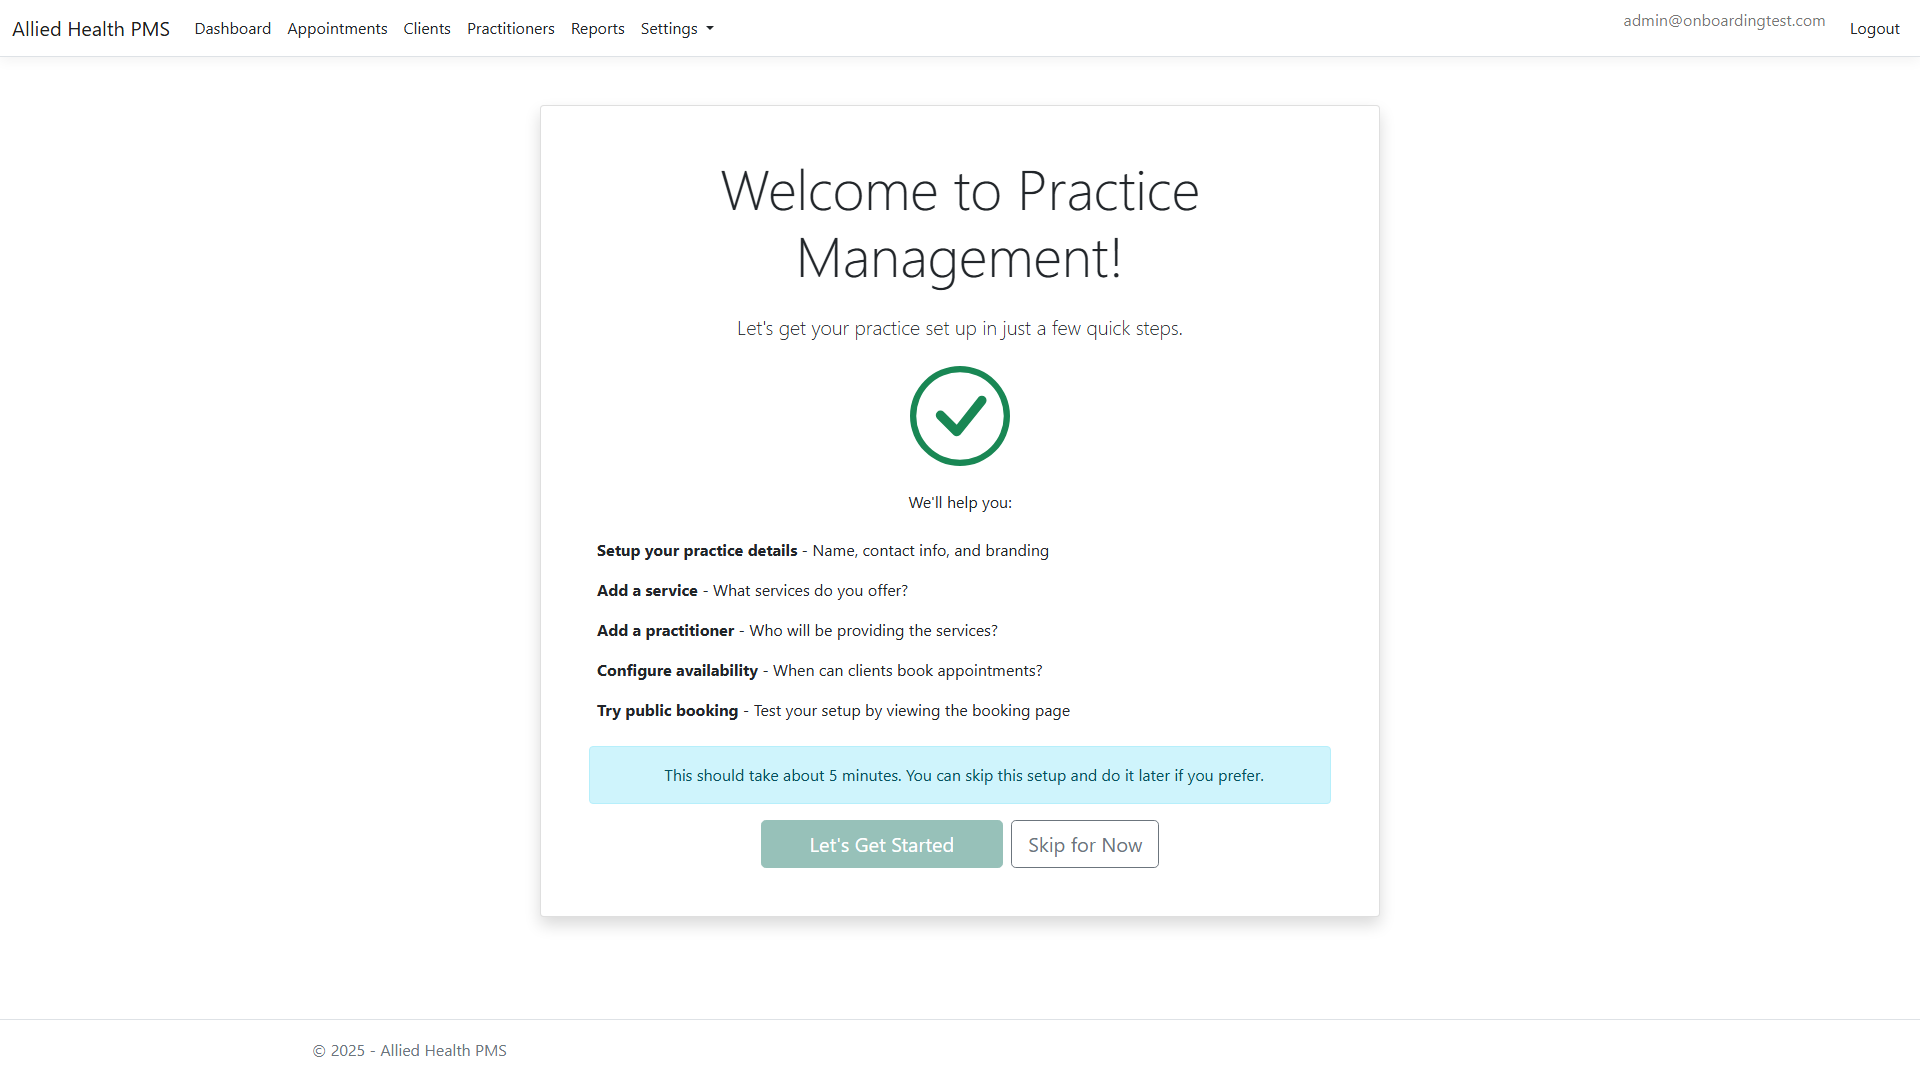
Onboarding
New practices can follow the onboarding flow to set up core data.
Logout
Click "Logout" in the top navigation to securely log out of the system.
Note: All screenshots are generated automatically during testing. If a screenshot is missing, it may indicate that the feature is still under development or the test needs to be run.