User Manual - Public Booking
Overview
This manual is for clients using the public booking system to schedule appointments online.
Table of Contents
- Accessing the Booking Page
- Selecting a Service
- Choosing a Time Slot
- Completing the Booking
- Booking Confirmation
- Client Forms
Accessing the Booking Page
The booking page can be accessed through:
- A link provided by the practice
- An embedded widget on the practice's website
- Direct URL:
/book/{practiceId}

Booking Page
Selecting a Service
- View available services
- Select the service type you need
- Note the duration and description
Choosing a Time Slot
- View the calendar
- Select an available date
- Choose a time slot (displayed in 15-minute intervals)
- Optionally select a preferred practitioner
Completing the Booking
- Fill in your information:
- Name
- Phone
- Review your selection
- Click "Book Appointment"
Booking Confirmation
After successful booking, you'll see a confirmation page.

Booking Confirmation
You will receive:
- Booking reference number
- Confirmation email with calendar links
- Appointment details
Calendar Integration
The confirmation email includes links to add the appointment to:
- Google Calendar
- Apple Calendar
- Outlook Calendar
Client Forms
Some services require a client intake form. If required, you will be directed to a secure form to complete before your appointment.
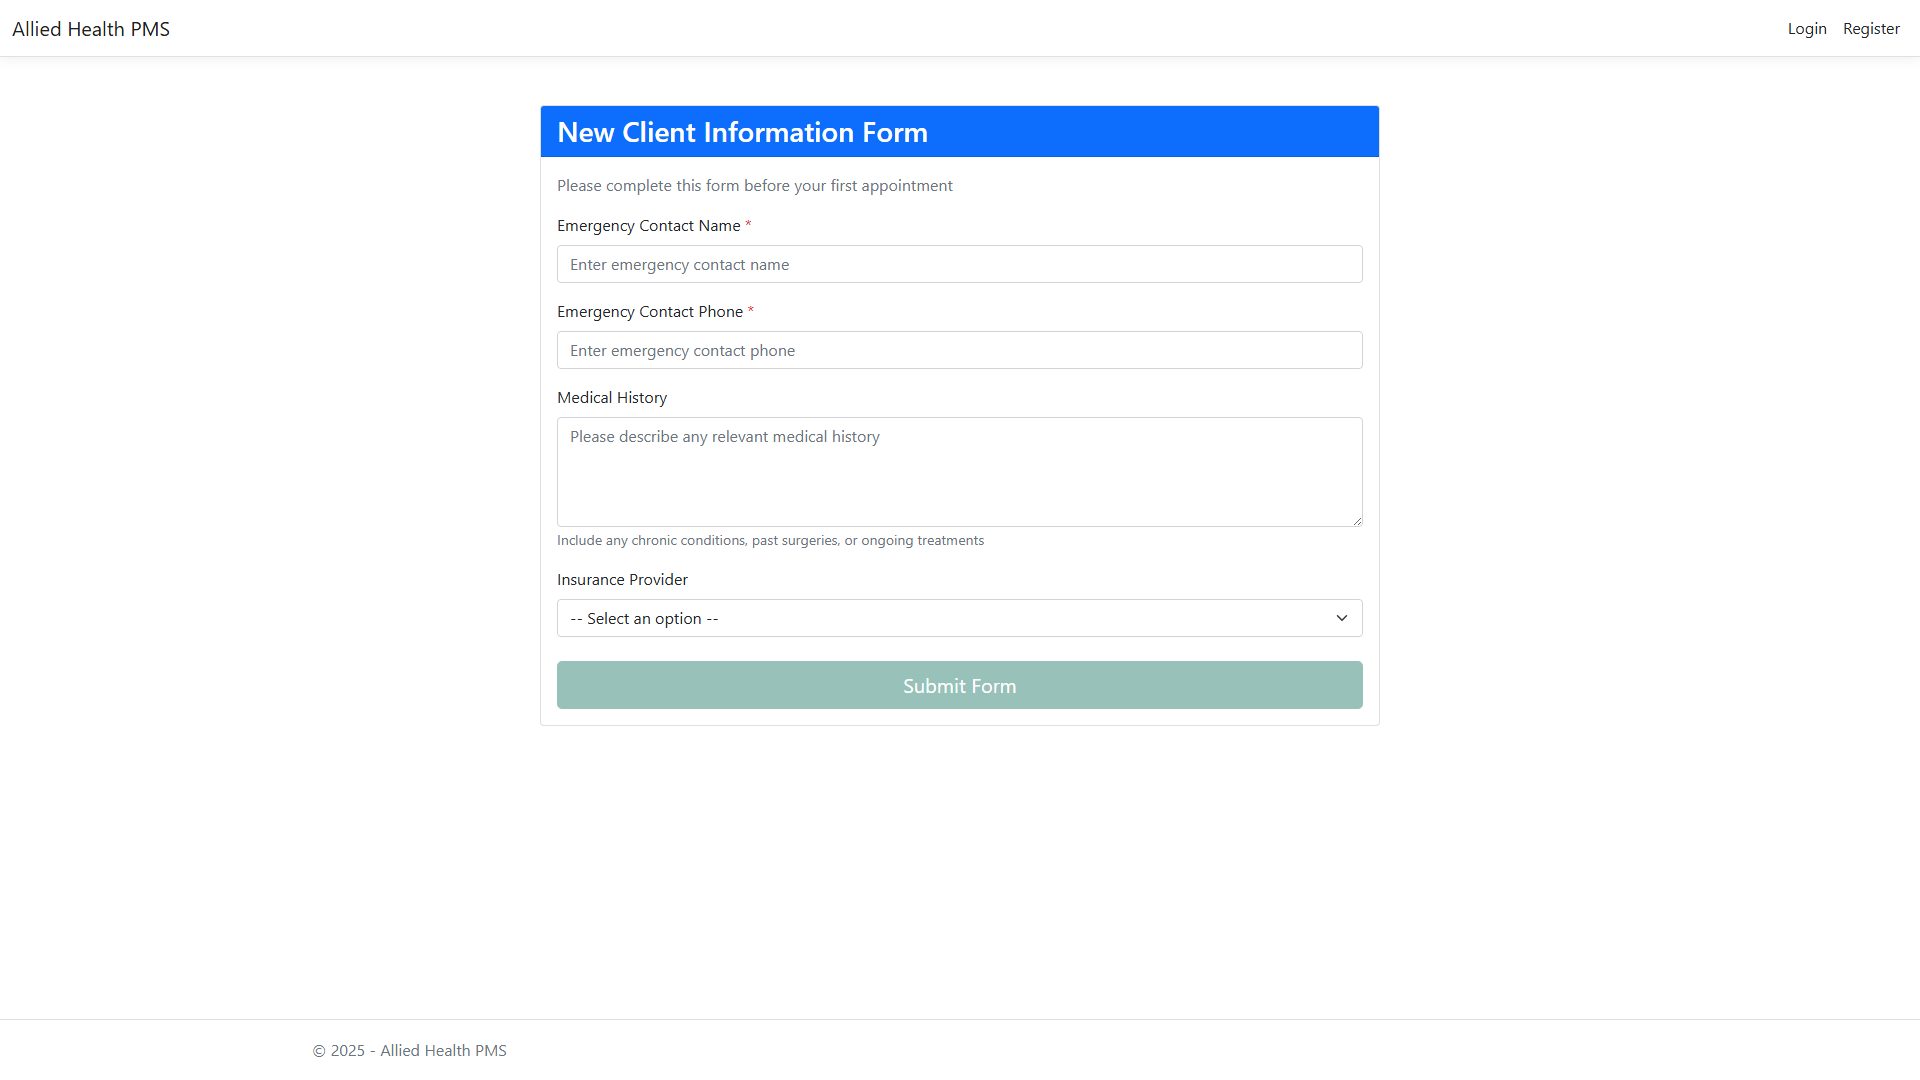
Public Client Form
Note: Screenshots are generated automatically. If a screenshot is missing, the feature may be under development.